Deploying Into WP Provider Using DeployBot (In 4 Easy Steps)
Picture this: You've just spent countless hours perfecting your WordPress site's code, fine-tuning every function and optimizing every line. Now comes the moment of truth - deployment. But instead of feeling triumphant, you're filled with dread. Manual deployments are like navigating a minefield blindfolded. One wrong step, one missed file, and boom - your site crashes, taking your sanity with it.
Sound familiar? Then you're certainly not alone. Many developers grapple with the anxiety-inducing process of manual code deployments. The tedious file transfers, the constant fear of overwriting critical data, the late-night troubleshooting sessions when something inevitably goes wrong - it's enough to make even the most seasoned developer break out in a cold sweat.
But what if I share an awesome way so you can deploy your WordPress site with confidence, knowing that every file is where it should be, every database is synced correctly, and every configuration is set just right? This is when the dynamic duo of WP Provider and DeployBot enters the picture.
WP Provider offers rock-solid WordPress hosting, giving your site a stable foundation. Meanwhile, DeployBot acts as your deployment superhero, automating the entire process with precision and ease. Together, they transform your deployment nightmare into a dream come true.
In this guide today, I’ll show you how to harness the power of WP Provider and DeployBot to streamline your deployment workflow. Additionally, you'll also find out why DeployBot is an ideal solution for all and why you can finally say goodbye to sleepless nights and hello to smooth, stress-free deployments.
So ready to revolutionize your WordPress development process? Let's dive in!
If you’ve read this far, you’re probably a DeployBot user and familiar with version control systems, CI/CD, and other related topics. If not, we’ve compiled several beginner’s guides: Laravel, Digital Ocean, Ruby on Rails, Docker, Craft CMS, Ghost CMS, Google Web Starter Kit, Grunt or Gulp, Slack, Python, Heroku and many more.
Why Is Deploybot the Best Choice for Deployment?
Here are the key reasons for prioritizing DeployBot as a deployment solution over any other deployment tools:
- One-click is sufficient for deploying code to multiple servers at once.
- DeployBot is joining forces with DeployHQ to streamline your deployment system.
- It supports both automatic and manual deployments.
- This code deployment solution ensures secure code shipment by offering a quick rollback function against faulty releases.
- You can enjoy zero downtime, which is also called atomic deployments.
- New Relic and Bugsang are available in DeployBot to monitor performance and application stability.
- It cuts down manual file uploading and changes tracking with automation.
- DeployBot keeps your team updated by sharing the release notes.
- No need to access servers for deployment.
- It comes with a super-friendly server configuration system.
- DeployBot allows you to manage roles and permissions in a team.
How to Deploy Into WP Provider Using DeployBot in 4 Simple Steps
Finding a hassle-free solution for code deployment can be a lifesaver. Here, DeployBot fully satisfies that purpose.
Today, I will walk you through how to deploy into WP Provider using DeployBot, demonstrating the whole setup in 4 easy steps. So, let’s dive in to experience the simplest code deployment process with WP Provider and DeployBot:
Note: If you're a beginner, then start following from step 1. Otherwise, skip to step 4 if you already have a repository and server connected with DeployBot.
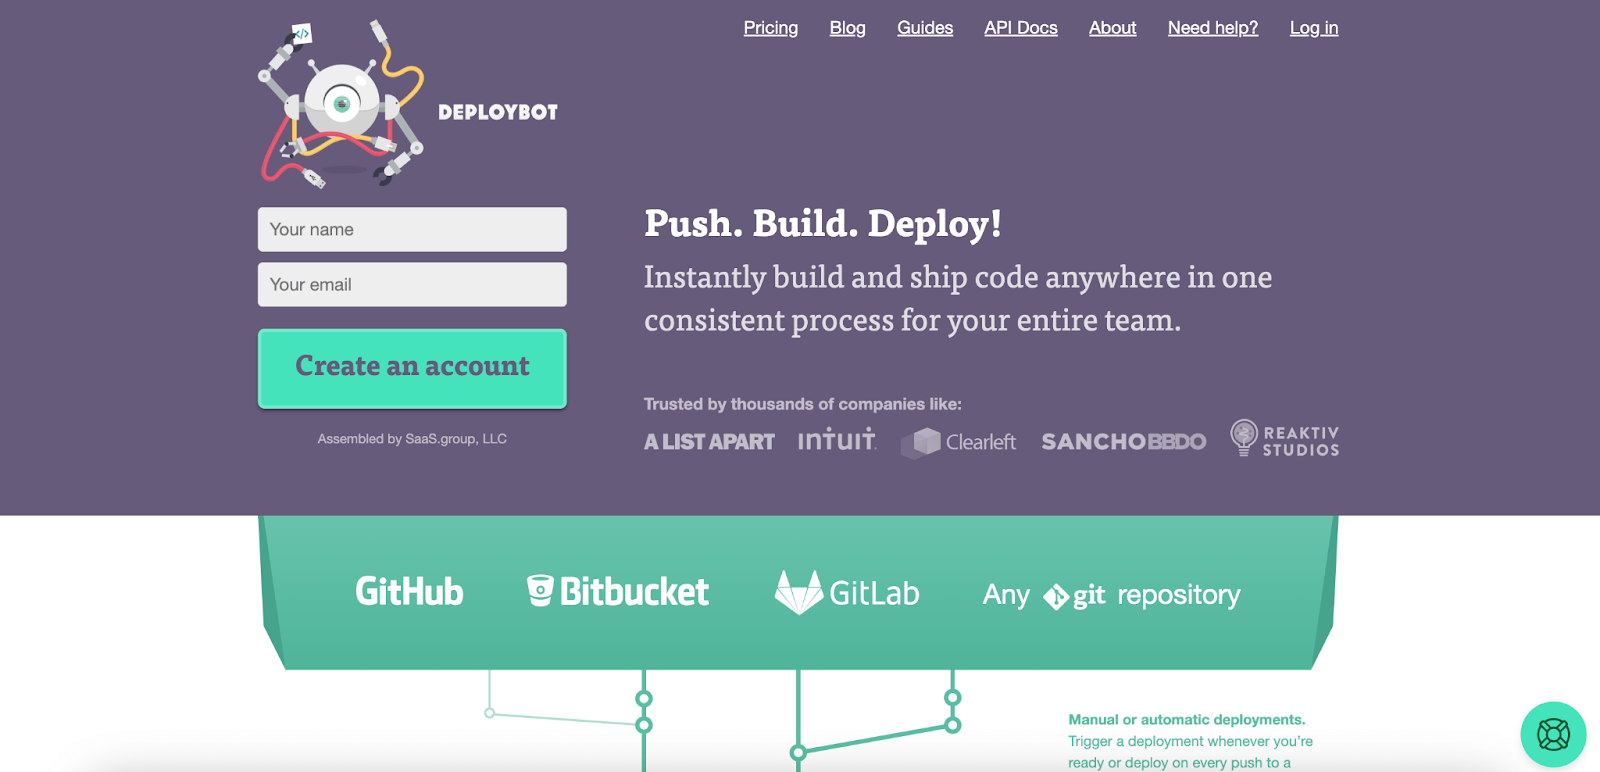
Step 1: Create a DeployBot account.
Since you're using DeployBot as a deployment tool, you need to first sign up with your name and email to create an account. Then, you will be taken to the main configurations such as repo, environment, and server DeployBot
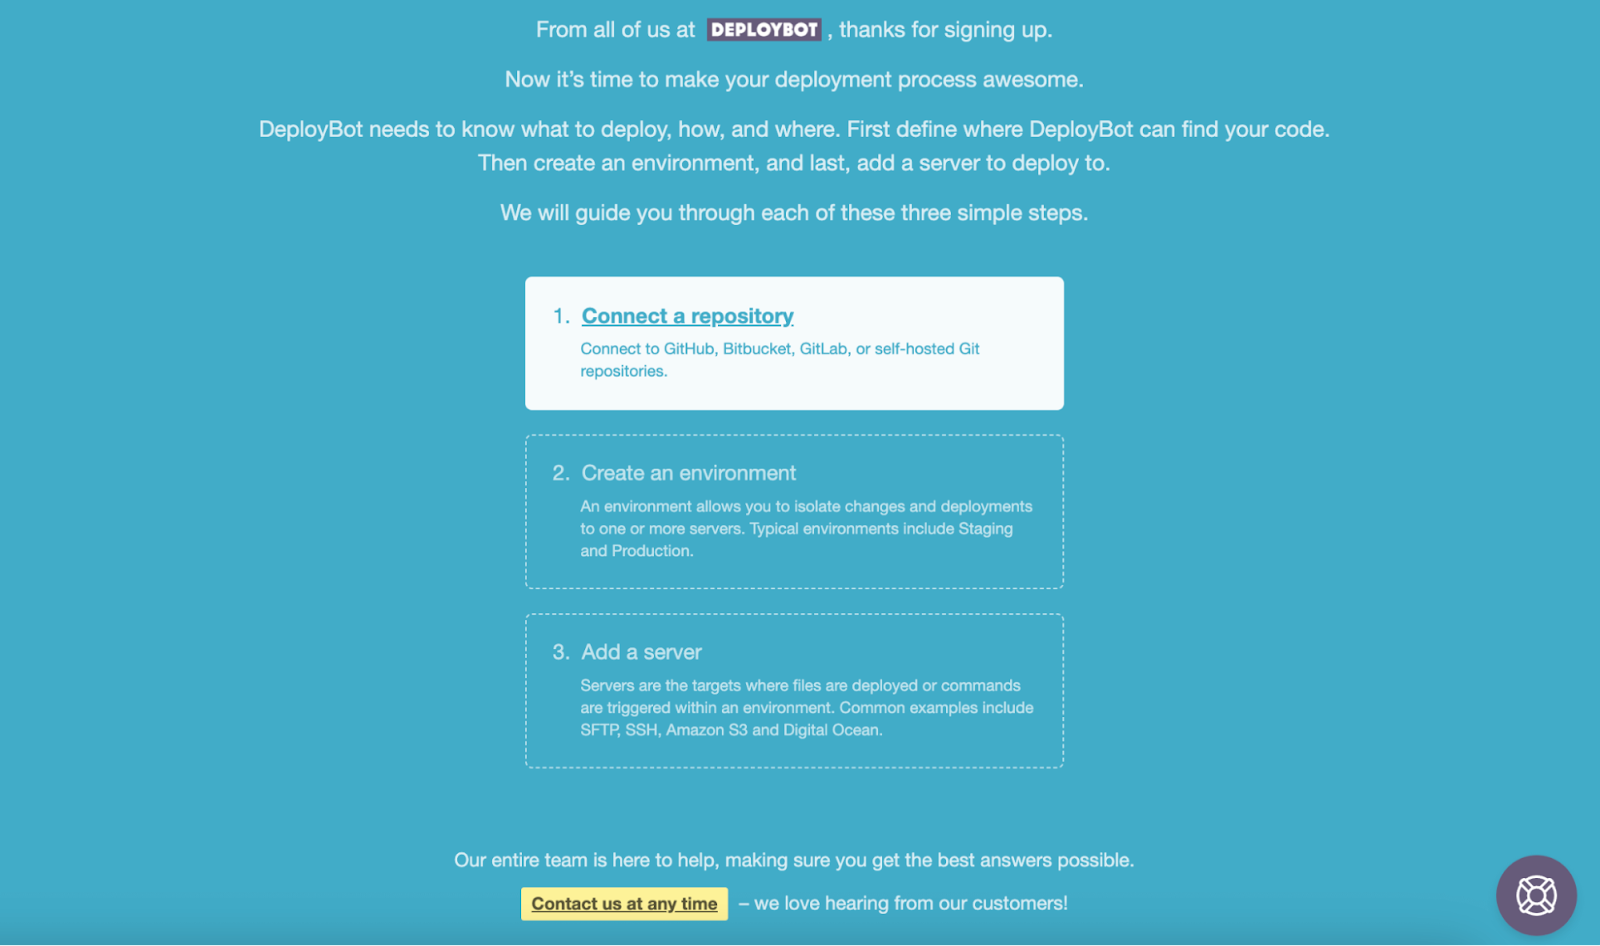
Step 2: Connect a Repository With DeployBot.
After registering DeployBot, you need to perform three setups one by one. First comes the repository connection. To set up a repository, press the “Connect a repository” option.
To do so, hit the “Others'' option on the Connect a repository page as shown below. This will take you to a repository setup tab.

Now, to get the Repository URL, move on to the Gitea site to log in to your account.

From the added repository in Gitea, copy the repository URL that you want to connect to in DeployBot.
Now, enter or paste the Gitea repository URL and select “Login and password” as an Authentication method. Here, your credentials will automatically appear. Now, add the “Title” and select the “Color label”.

Then, simply press the “Connect” button. This will connect the Gitea repo with DeployBot instantly.
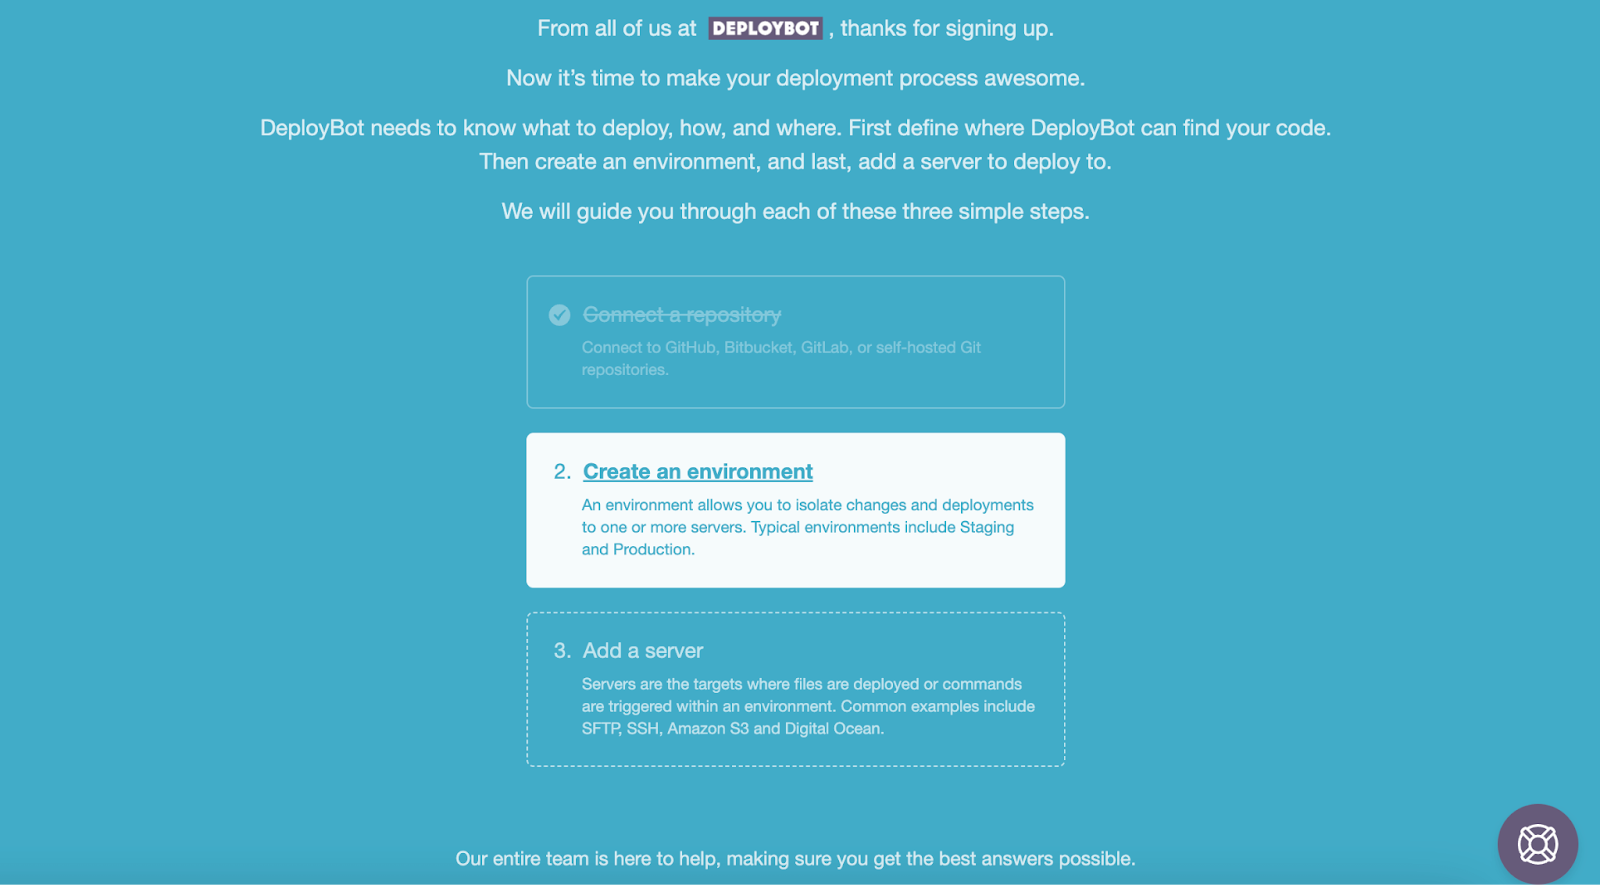
Step 3: Set up a Suitable Deployment Environment.
In the third step, you need to build an environment by pressing the second option named “Create an environment”.
Now, for General settings, enter the Name and Color label for your environment. Then, head to selecting a deployment mode from the following two options:
- Manual WordPress Deployment: This works great for a production environment where every deployment should take place under in-person observation.
- Automatic WordPress deployment: It is best for staging and development environments that don't require manual observation.
Select one deployment mode that is appropriate for your environment. Then select a Branch from the drop-down menu. At last, press the “Connect” button.

Step 4: Integrate WP Provider with DeployBot.
After setting up a deployment environment, you need to add the WP Provider to DeployBot. To do so, visit the “Servers & Settings” tab and hit the “Add a server” option. Then, choose SFTP as a deployment option.

Thus, you will be taken to a tab for Server connection via SFTP. Here, you need to configure General settings, and you will find all those credentials on the WP Provider. To get access to the hostname, login to WP Provider and navigate to System Info & Files >> System Information. And the Port for SFTP will be 2200.

After getting that information, paste the credentials on the respective fields on the DeployBot server connection tab. Here, the Username and Password will be the same as the WP Provider login credentials. Then, hit the “Connect” button.

After completing the connection, you will see a successful connection message. Enter the “Destination path” and press the “Write test” button.

Finally, click the “Save” button to integrate WP Provider with DeployBot.

After completing all these setups, you will see that your server WP Provider is connected with DeployBot on the “Servers & Settings” tab.

Make Your Code Deployment Seamless Leveraging DeployBot and Your Favorite Hosting Server
By integrating DeployBot with WP Provider, you've unlocked a powerful deployment solution that revolutionizes your WordPress workflow. With this simple integration above, as you can guess by now, this dynamic duo truly eliminates the stress of manual code deployments, allowing you to channel your energy into what truly matters - crafting exceptional code and delivering outstanding websites.
Not only that, DeployBot's versatility extends beyond WP Provider, seamlessly integrating with a wide array of hosting platforms, including EasyWP, Cloudways, WPEngine, WordPress.com, Flywheel, Kinsta, Pagely, Hostinger, and Nexcess. This flexibility ensures that regardless of your hosting choice, you can enjoy streamlined, efficient deployments.
Key Benefits Recap:
- One-click automated deployments to WP Provider environments
- Secure team collaboration with granular permission controls
- Multi-server deployment capabilities for seamless staging and production workflows
- Robust version control with instant rollback options
- Comprehensive deployment logs for enhanced troubleshooting
- Scalable solution suitable for solo developers and large teams alike
While the setup process is straightforward, remember that vigilance remains crucial. Regular monitoring of your deployments, despite DeployBot's automation, allows you to address potential issues, ensuring consistently smooth operations proactively.
The synergy between WP Provider's robust managed WordPress hosting and DeployBot's intelligent automation elevates your deployment process to new heights of efficiency and reliability. Embrace this optimized workflow and watch your productivity soar.
Also, remember that our dedicated support team is ready to assist you in maximizing DeployBot's potential. Whether you need help with integration, configuration, or advanced features, we're committed to your success throughout your deployment journey.
Lastly, with DeployBot and WP Provider at your disposal, you're not just deploying code - you're deploying with confidence, speed, and precision. Welcome to the future of WordPress development, where deployments are a breeze and your focus remains squarely on creating exceptional web experiences.


