How to Deploy into WordPress.com Using DeployBot
Deploying website updates to a live server can be akin to walking a high wire without a net for the uninitiated—missteps are costly, and the room for error is minimal. For developers, the tension between the need for frequent updates and the risk of disrupting live services is a constant balancing act. The traditional manual deployment approach often staged a labor-intensive and error-prone process, fraught with tedious manual steps: file transfers, version controls, and configurations that could easily gobble up hours or even days worth of time.
In a digital world that never sleeps, these pitfalls aren't just inconvenient; they can mean the difference between a thriving online presence and one that's perpetually a step behind. Enter the combination of WordPress.com, a highly respected hosting platform known for its robust architecture and user-friendly features, and DeployBot, a tool designed to turn the deployment process into a seamless, almost magical push-button experience.
This introduction sets the stage for a discussion on how effortless and reliable deployments can not only reduce the risk of human error but also enable a more fluid release cycle, keeping websites dynamic and competitive in the ever-changing online landscape. By bridging the gap between the developer's local environment and the live server, DeployBot ensures peace of mind, leaving creatives free to focus on what they do best: crafting exceptional web experiences.
But do you have any idea regarding how to deploy code using these two solutions? No worries if you don’t. In this blog, I will enlighten you on the straightforward process of deploying code into WordPress.com using DeployBot.
So let’s dig in to experience a painless code shipment system, but before that, we should know…
Why Should You Consider DeployBot as a Deployment Tool?
DeployBot is an all-in-one solution for pushing, building, and deploying code into multiple servers. Whether you want manual or automatic deployments, DeployBot includes all possibilities for flexible code deployment.
Let’s explore some potential benefits of deploying code using DeployBot:
- It allows you to deploy code into different servers at the same time.
- DeployBot ensures atomic deployment while maintaining zero downtime.
- This code deployment software sends notifications for each deployment using Slack or other popular communication channels.
- It lets you analyze performance and application stability using Bugsang and New Relic.
- DeployBot eliminates manual tracking and file uploading.
- Its quick rollback feature will save you from problematic releases.
- You can monitor and check code deployment in real-time.
- This tool reduces risks in code deployment by managing permissions among your team members.
- Server configuration is super easy with this tool.
Method to Deploy Into WordPress.com Using DeployBot
Check out this step-by-step guide that demonstrates the complete configuration from signing up DeployBot to connecting the server. If you have experience deploying into other servers and have your environment set up, then just follow step 4. Or else, follow the complete integration of deployment if you are a beginner:
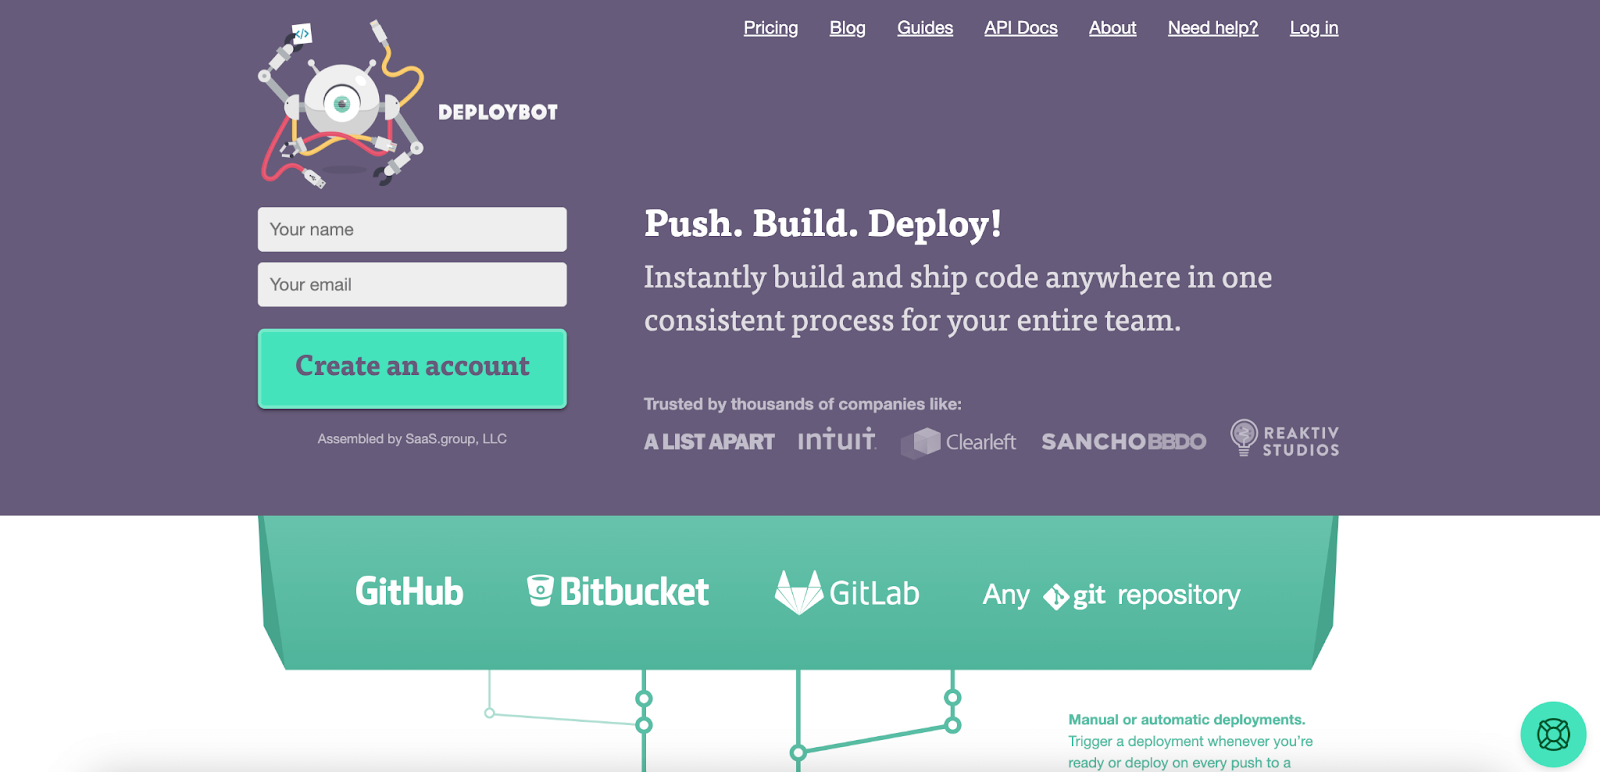
Step 1: Signup DeployBot.
Before jumping to the main configuration, you first need to sign up for DeployBot to create an account. To do so, sign up for DeployBot, entering your name and email in the respective fields. Then, press the “Create an account” button to complete registration.
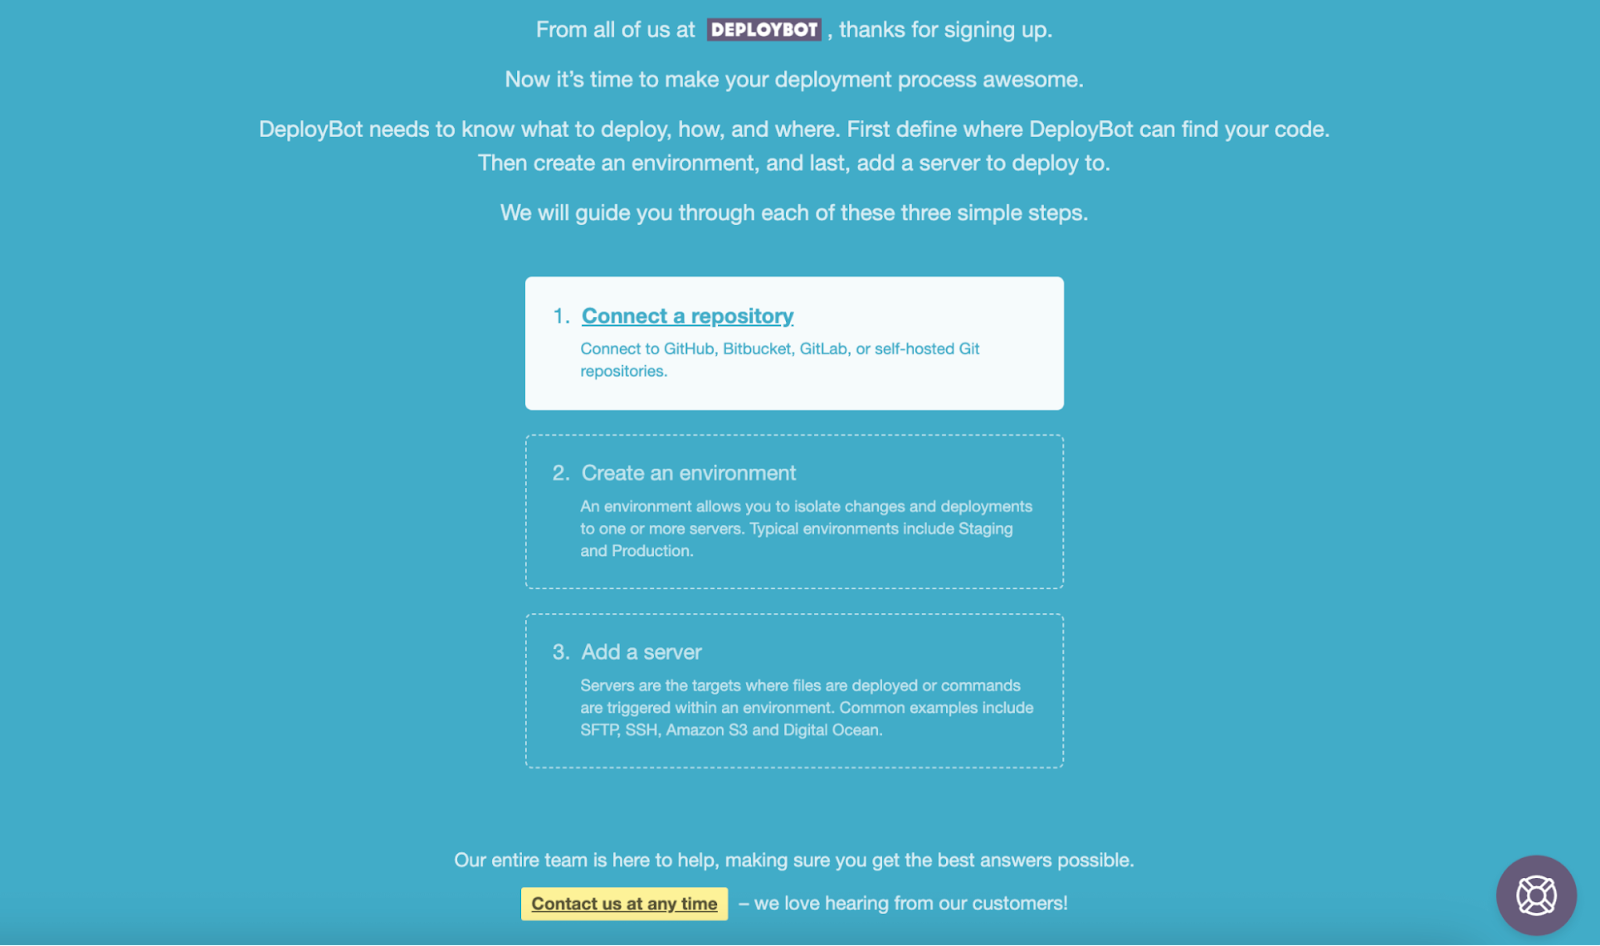
Step 2: Setup Repository with DeployBot.
After creating a DeployBot account, you have to connect a repository to deploy WordPress code. Here, press the “Connect a repository” option to build a connection between GitHub, GitLab, or other available repos with DeployBot.
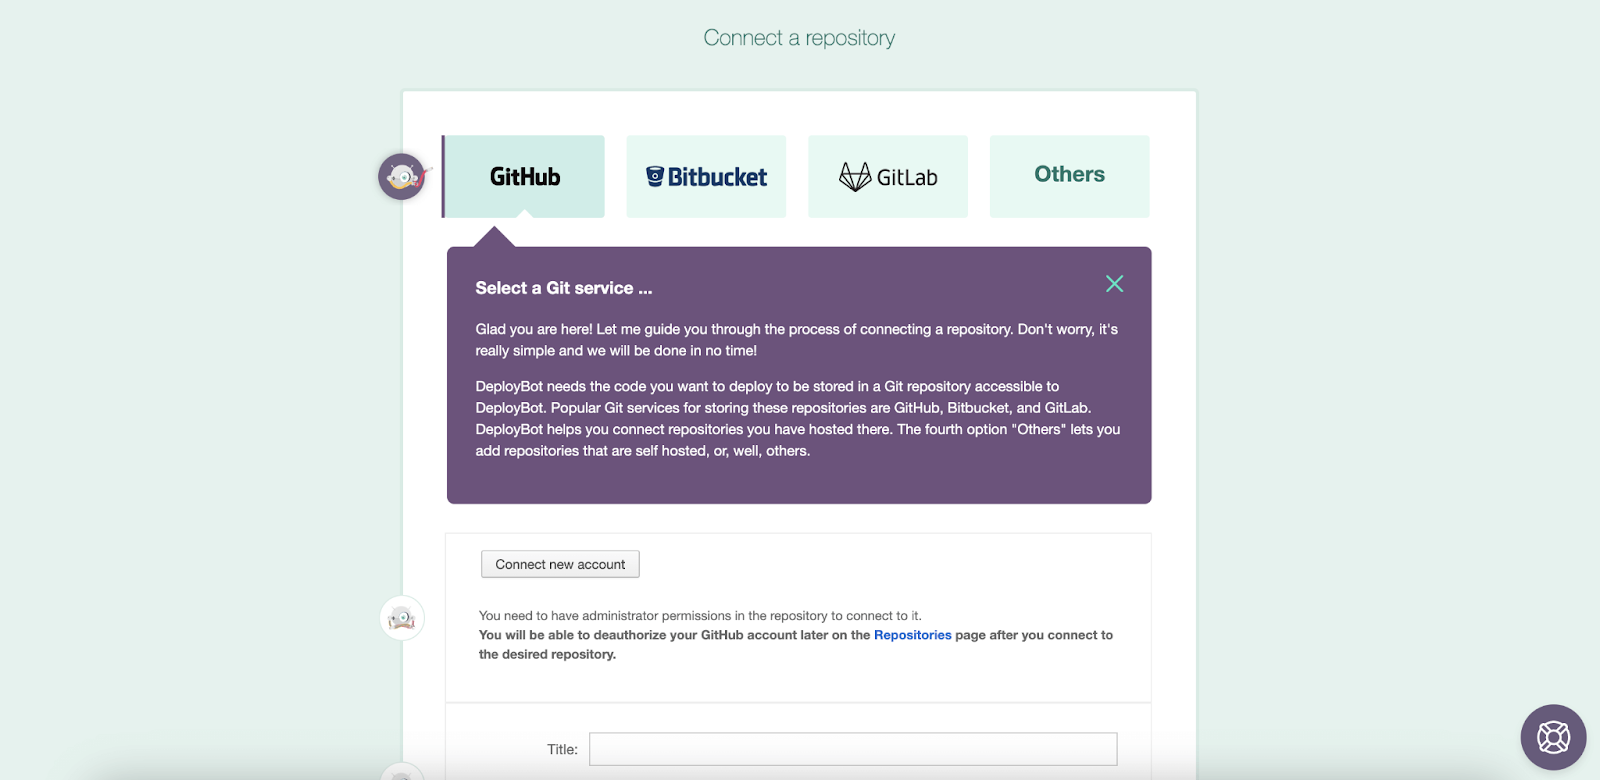
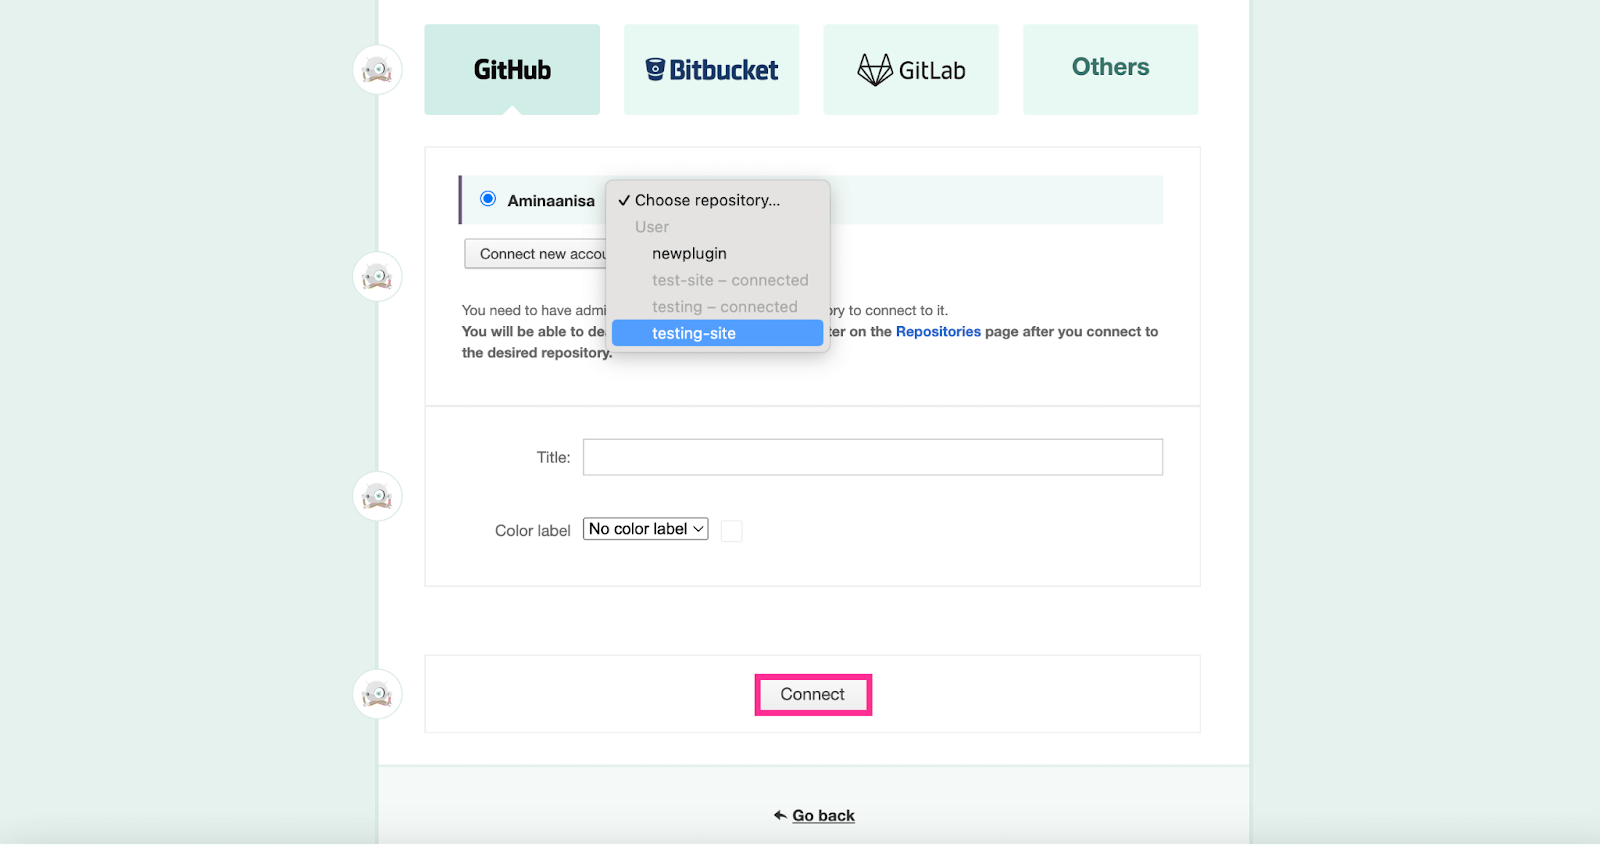
Now select a repository that you want to get connected with DeployBot. Here, we're selecting GitHub and pressing the “Connect new account” option.
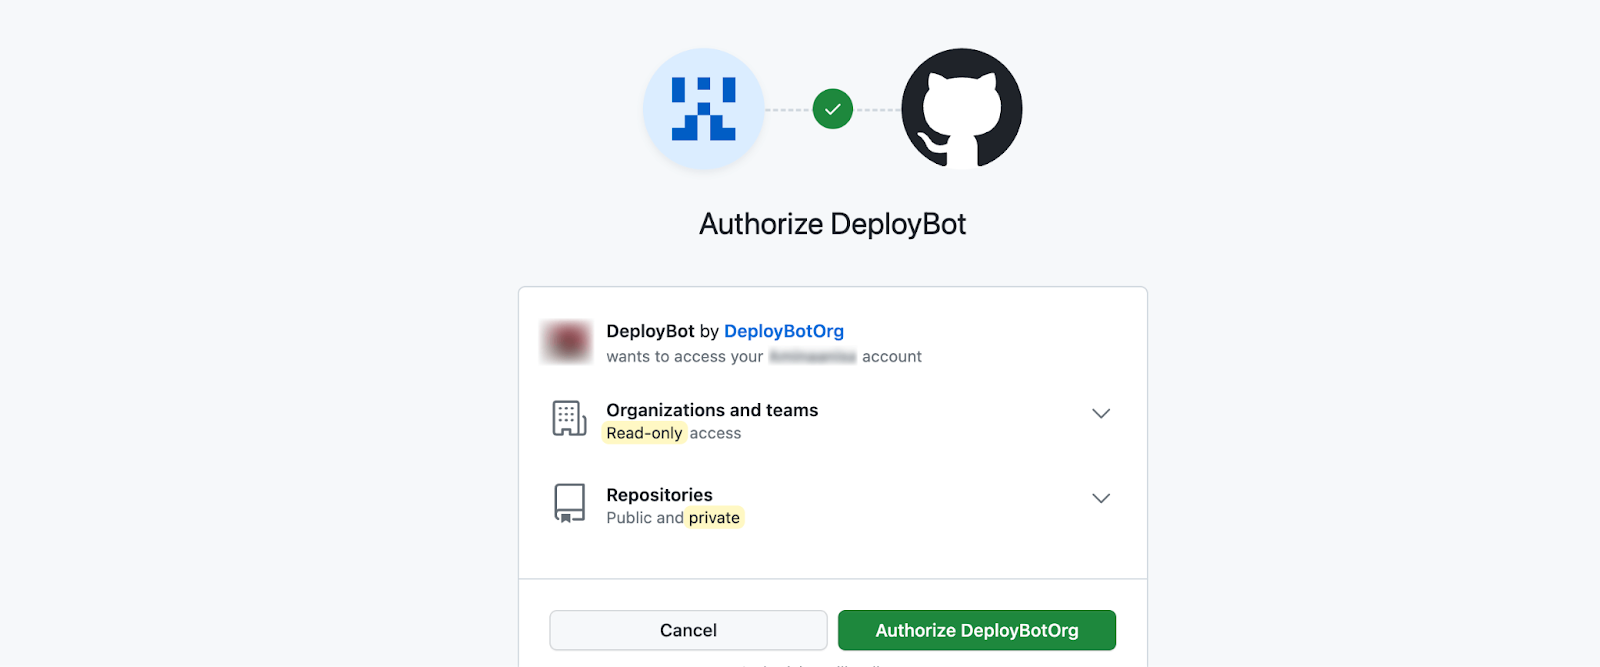
This will redirect you to an authorization message from where you need to give access to DeployBot by hitting the “Authorize DeployBotOrg” button.
Then, you will receive a notification mentioning you will be redirected to an authorized application. If you didn’t then manually press the “setup page” to continue.

Now select a repo that you're looking forward to connecting with DeployBot. Here, select a repo from the drop-down menu and enter the title and color label for it. Then press the “Connect” button to deploy code to your WordPress sites whenever you make changes to this repo.
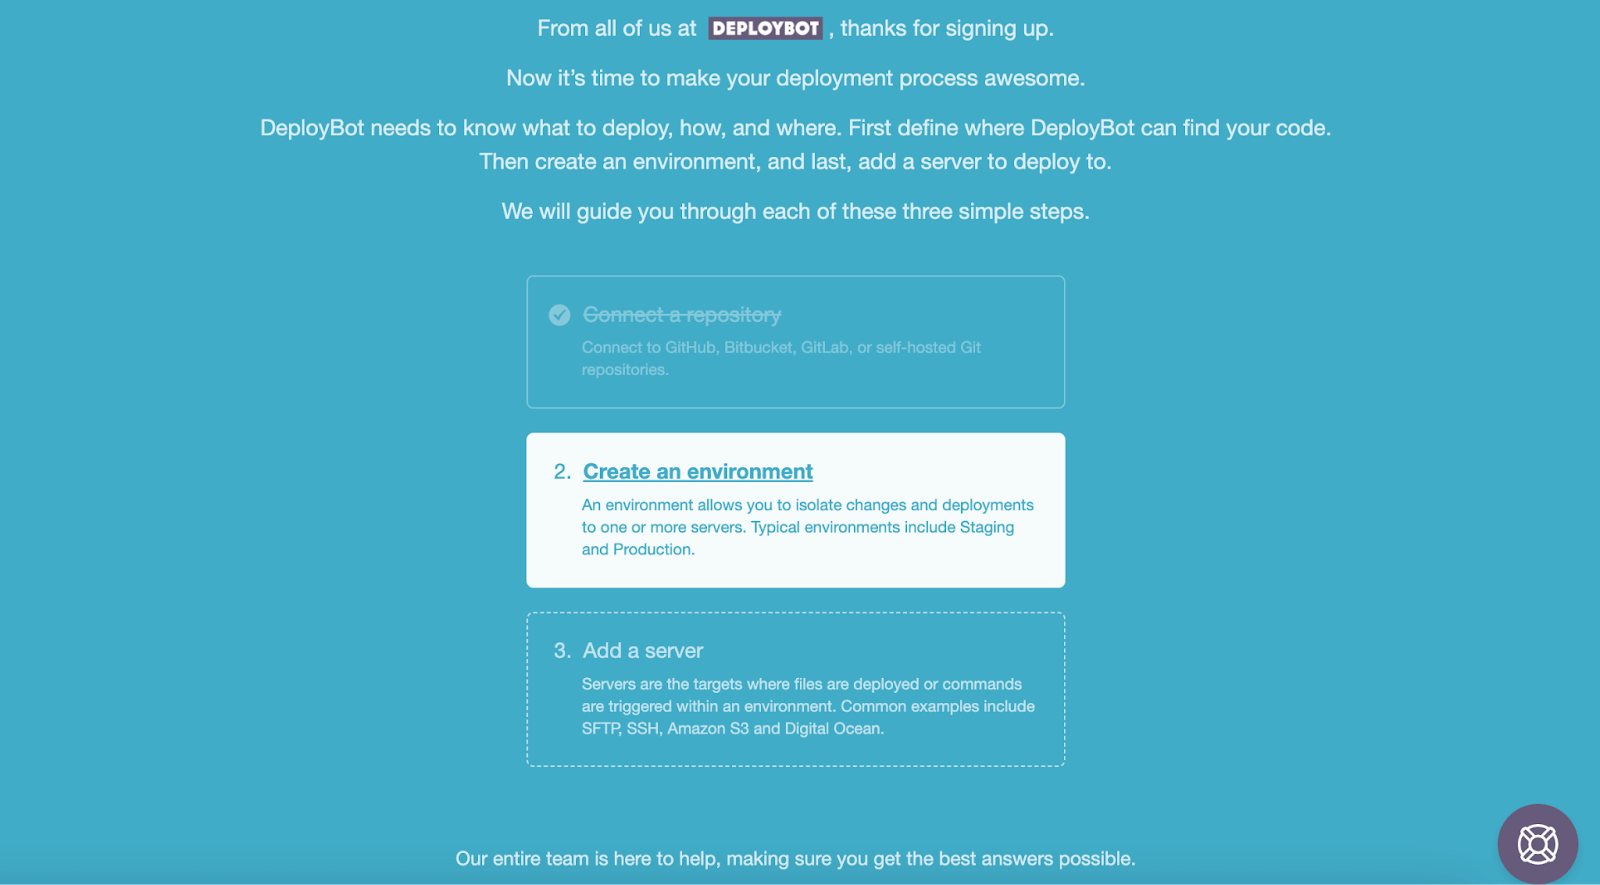
Step 3: Create an Environment.
In this step, you have to set up the environment by pressing the “Create an environment” option. This will take you to the settings page to create an environment.
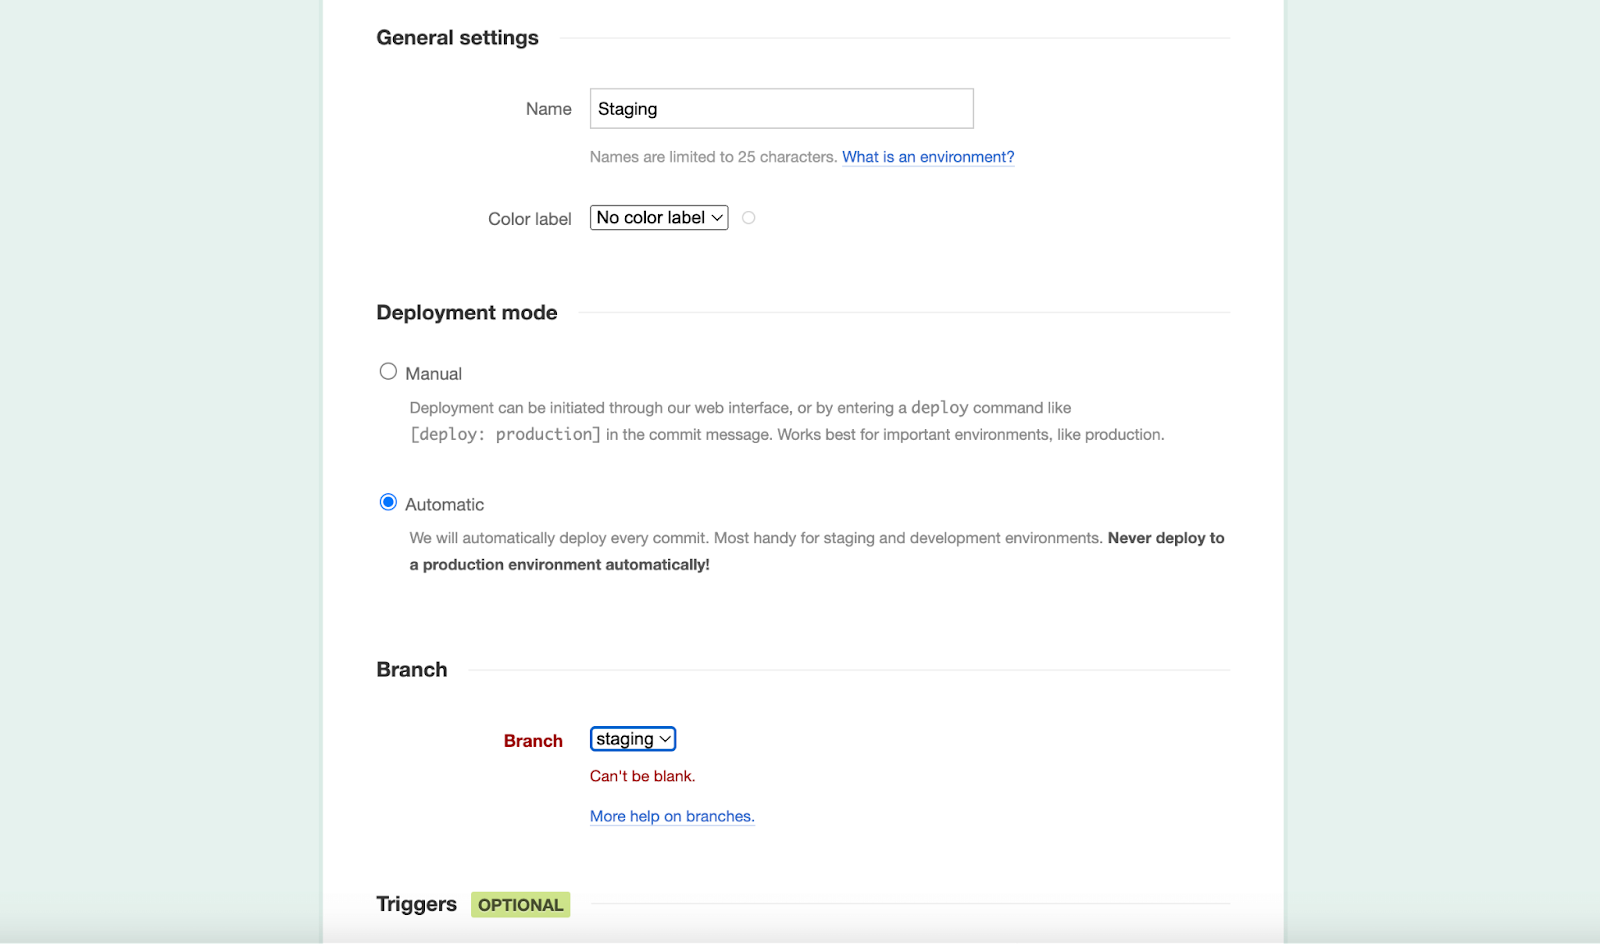
Now, enter the necessary information for General settings, Deployment mode, and Branch one by one. First comes general settings, where you need to fill out the name and color label fields. Then, for deployment, you will get two options such as:
- Manual: This one is appropriate for a production environment where every deployment should be done manually.
- Automatic: Automatic is required for staging and development environments for carrying out smooth workflow. It can automate WordPress deployment.
As we're showing this deployment in a staging environment, select Automatic as a deployment mode. Then choose the same branch from the drop-down option that you have created in the git repo. This denotes that whenever you bring change to that repo the same changes will take place to this branch. After that, scroll down and hit the “Save” button to successfully wrap up the environment settings.
Step 4: Configure Server Connection with DeployBot.
In the final step, you need to connect to the server by visiting the “Server & Settings” tab. Then press the “add a server” button to connect WordPress.com with DeployBot, the best WordPress deployment tool or software.
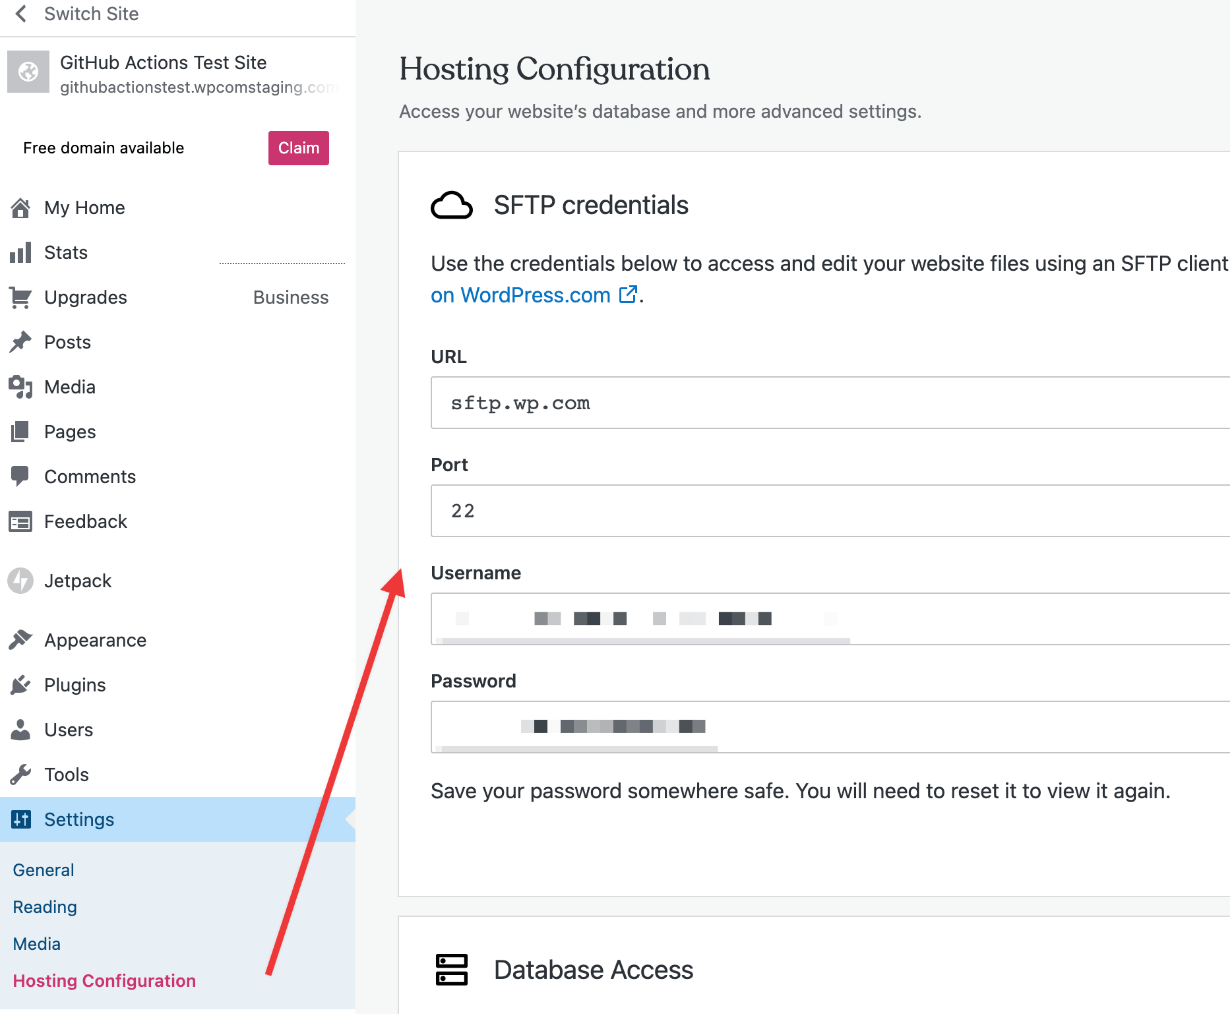
You will get SFTP credentials such as Host, Port, Username, and Password from WordPress.com. To get these credentials, log in to your WordPress.com account and navigate to Settings >> Hosting Configuration. There, you will get all the data you’re looking for to connect WordPress.com with DeployBot.
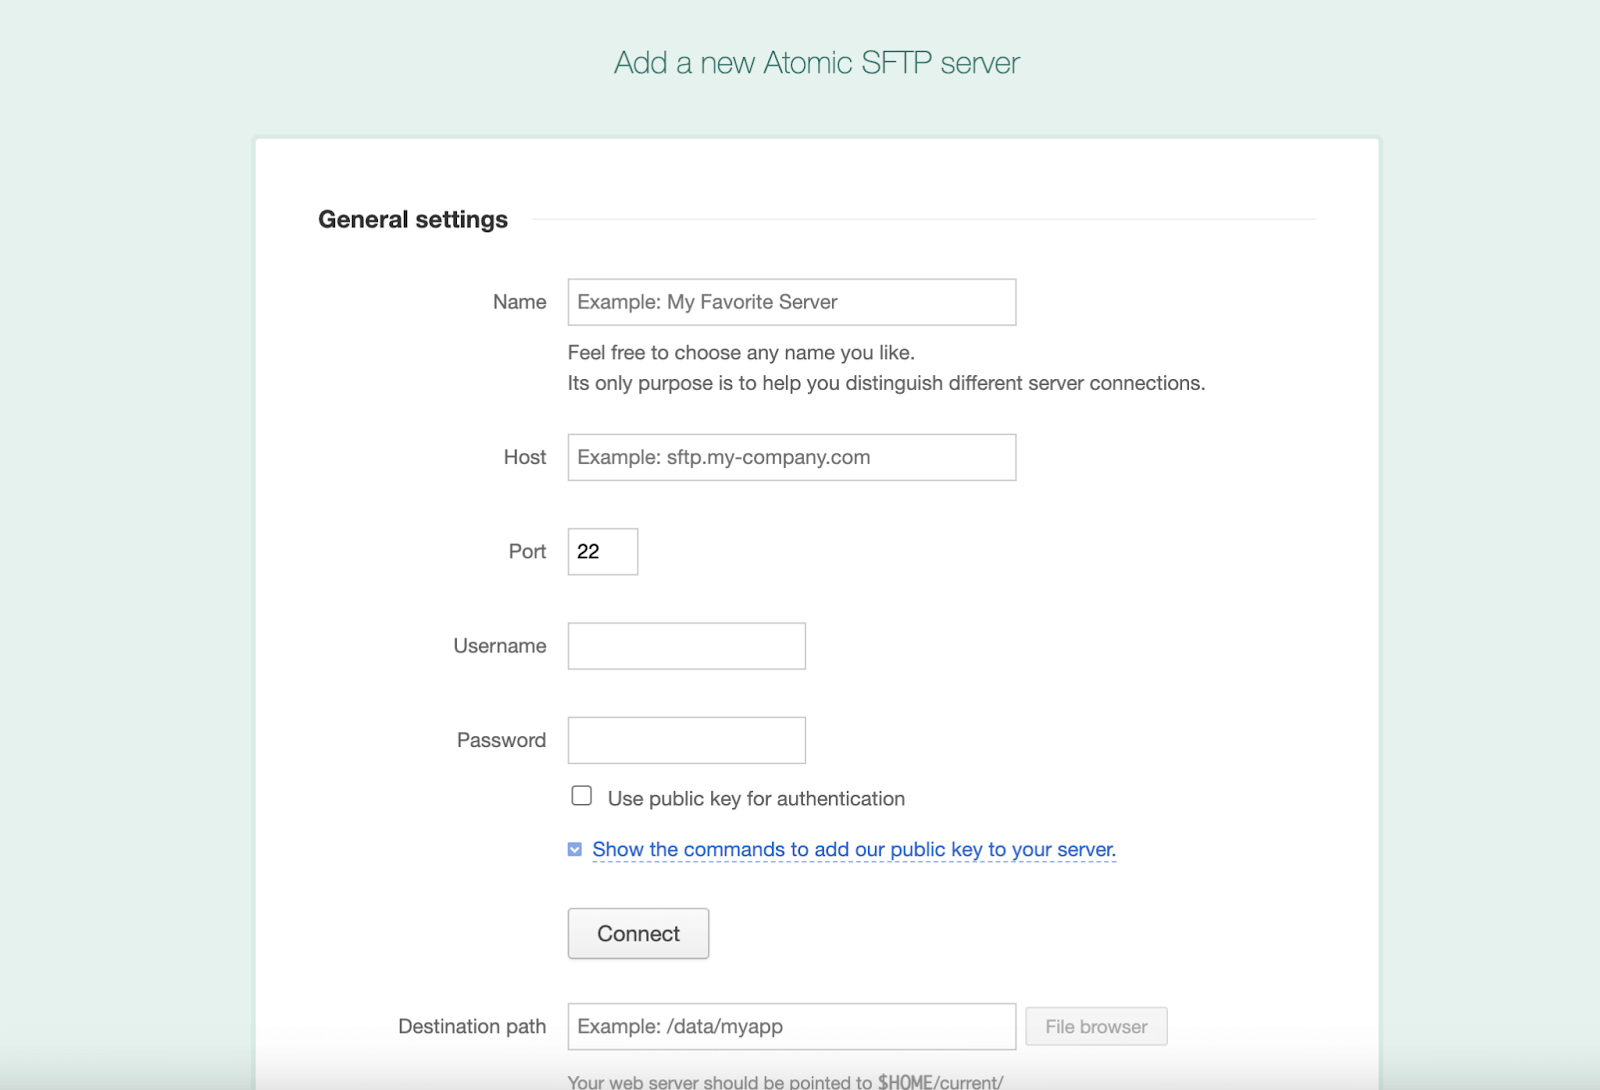
Now, enter WordPress.com in the Name field of General Settings and copy Host, Port, Username, and Password from WordPress.com. Then paste those in the respective fields to set up the WordPress hosting server connection. After that, click the “Connect” button.
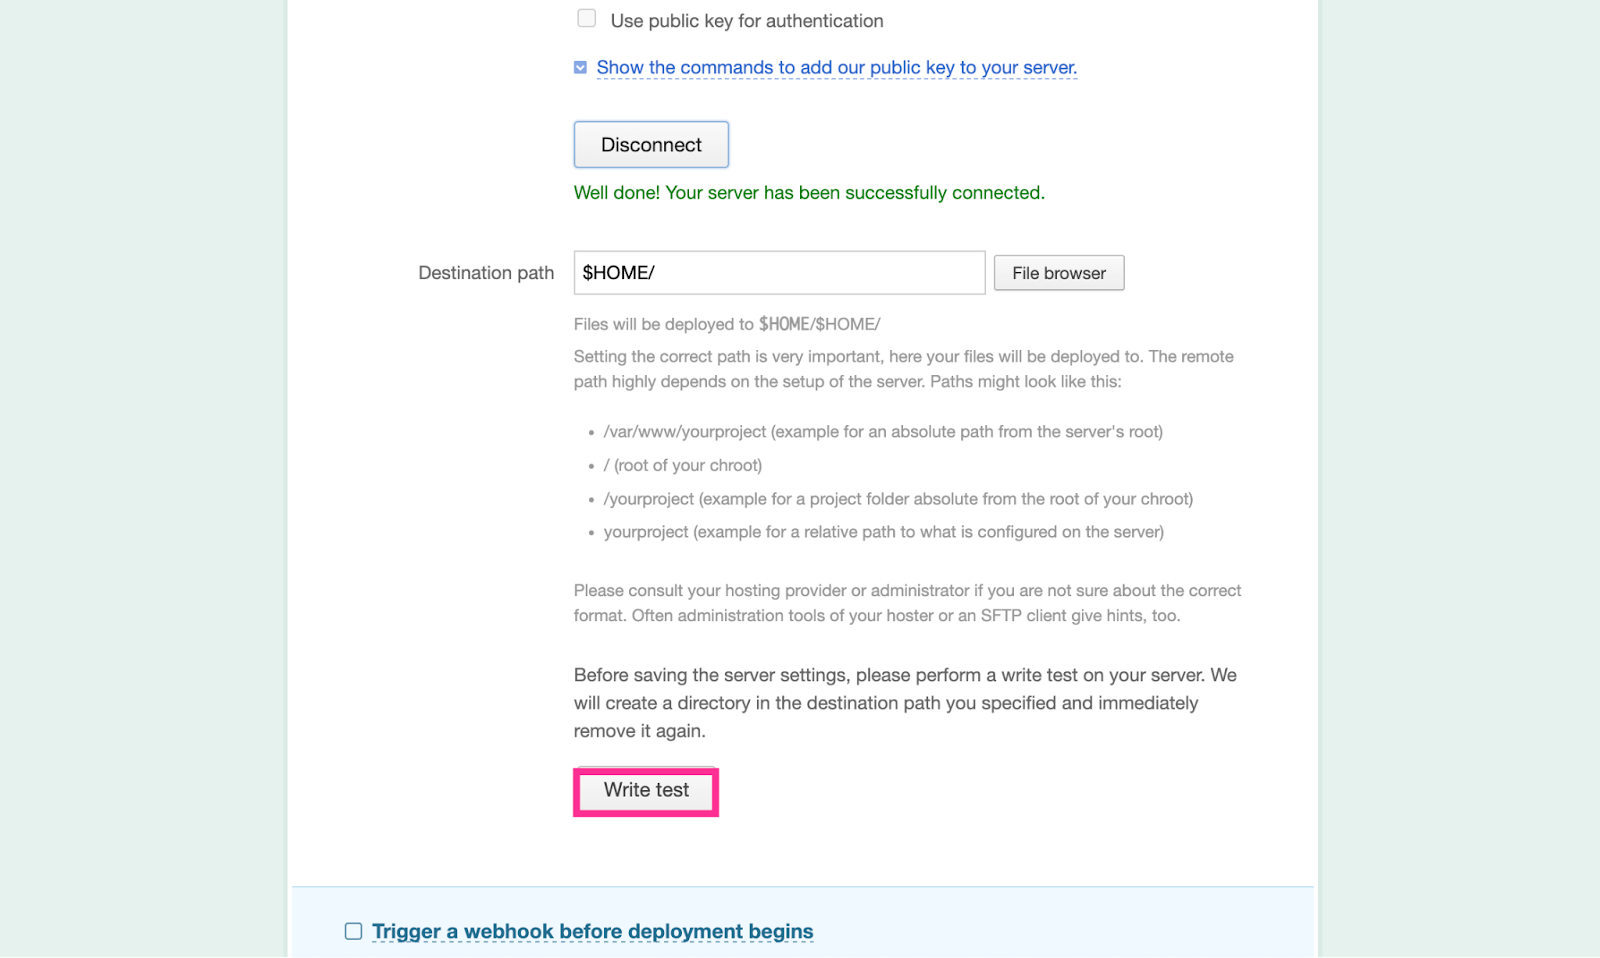
Then, enter the Destination path and hit the “Write test” button. Thus, you will get to see a notification that your “write test” is successful.
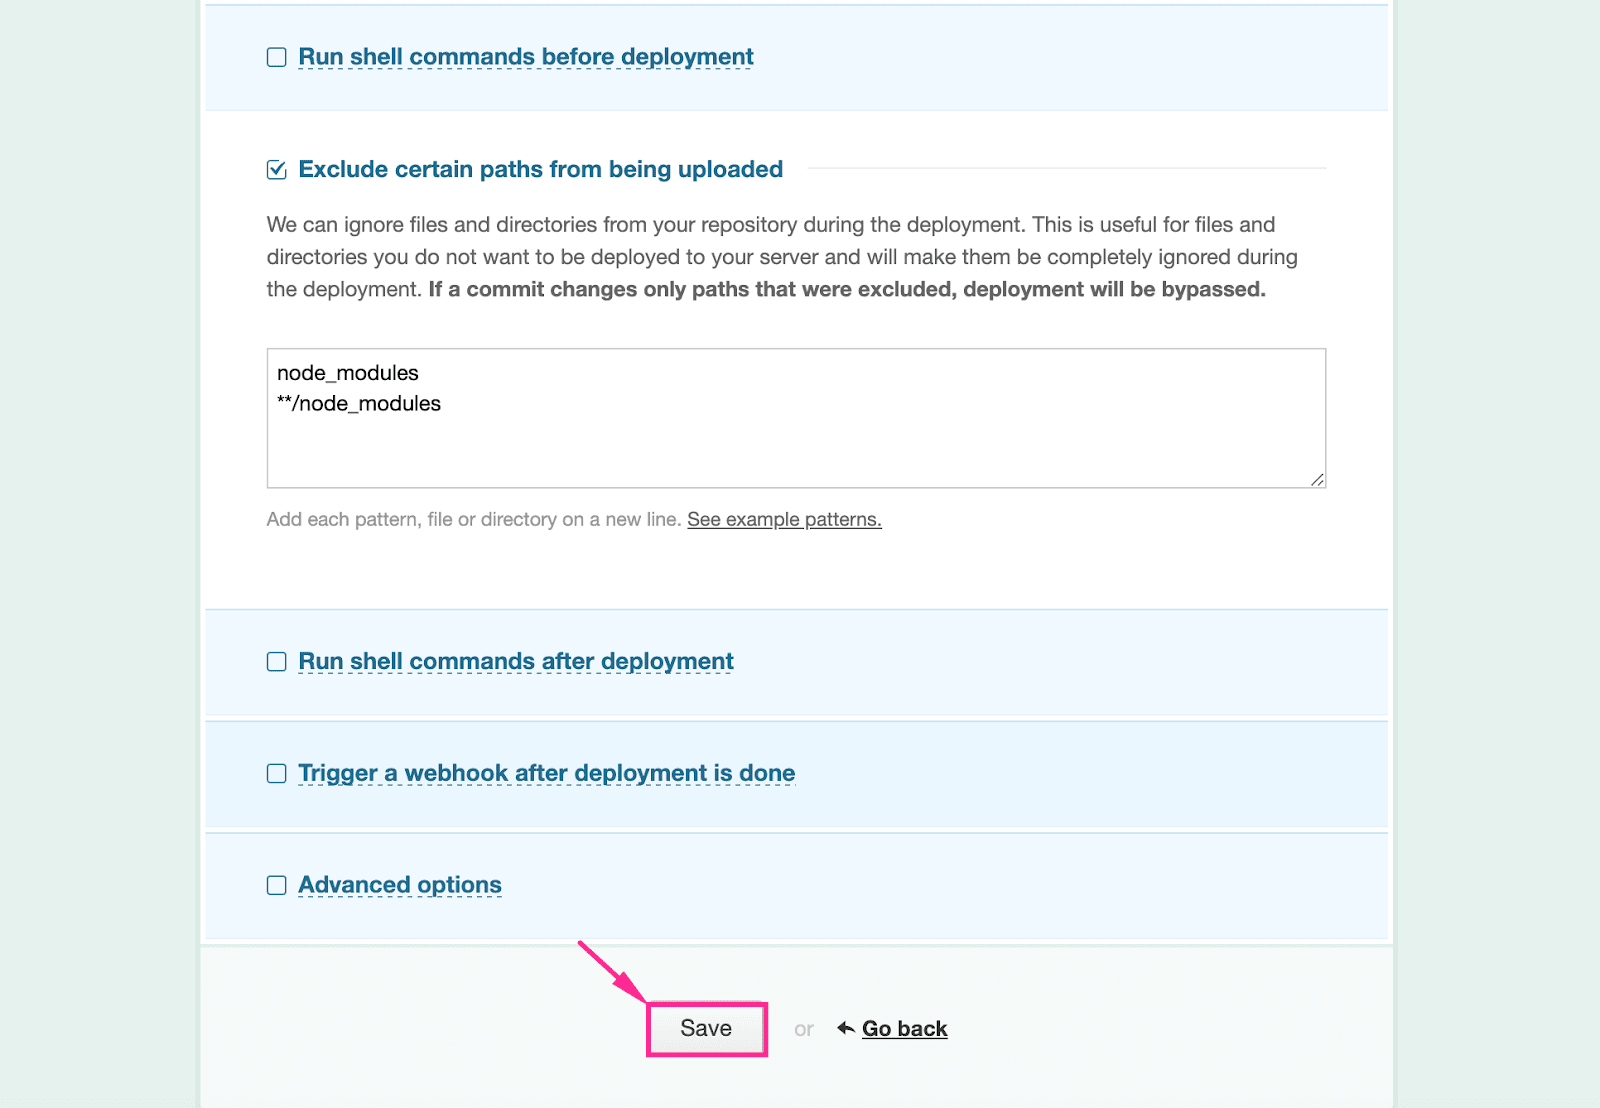
Lastly, scroll down and press the “Save” button to complete the server setup with DeployBot.
Once you do, you will see your WordPress.com is connected with DeployBot from the “Server & Settings” tab.
Integrate WordPress.com With DeployBot to Turn Your Code Deployment a Breeze
So, now you know the simplest code deployment software, DeployBot and the easiest method of deploying code into WordPress.com. Utilize these two solutions and make deploying code into WordPress sites as simple as possible.
Having said that, DeployBot knows that your coding journey shouldn't be limited by the constraints of a single hosting provider. That's why it simplifies the often daunting process of deploying code by seamlessly integrating with other popular hosting services like EasyWP, Cloudways, Kinsta, Flywheel, WPEngine, and more.
Not only that, with DeployBot, you have the freedom to choose the perfect hosting solution for your project without sacrificing powerful deployment capabilities. From personal projects to managing a team of developers, DeployBot’s versatility is unmatched. It effortlessly streamlines your deployment workflow, saving you precious time and reducing the risk of errors.
So why settle for a mediocre deployment setup when you can combine DeployBot with your preferred hosting servers to create the ultimate coding environment?
Don't worry about any hiccups along the way - our dedicated support team is here to assist you. Whether you have questions or need guidance, they are always eager to ensure your experience using DeployBot with WordPress.com (or any other hosting provider) is seamless and hassle-free.
Trust us to help you unleash the full potential of DeployBot and elevate your code deployment game.


