Building assets with Grunt or Gulp during deployment
This guide explains how to compile website assets with Build Tools during deployment. We’ll use Grunt as an example, but everything below can be applied to Gulp or any other Node-based task runner as well.
Why use a task runner?
Front-end code of most modern projects consists of CSS preprocessor files (i.e. Sass, LESS or PostCSS) and multiple JavaScript or CoffeeScript files. Some of them have to be processed and compiled, while others need to be concatenated and minimized for better performance when used in production. Task runners like Grunt or Gulp can do all of that and more with a wide selection of plugins. They are incredibly flexible and let you specify the process of building your assets step by step.
Even while some back-end frameworks provide tools for asset compilation (like Asset Pipeline in Rails), you may still want to use a task runner for all the extra control and powerful features they provide.
Don’t store compiled assets in repository
It may seem like the easiest way to get your compiled assets to production servers would be committing them in the repository and deploying with the rest of your files, but this creates a whole set of problems.
First of all, minimized files are a single line with a lot of text, so they are almost impossible to merge automatically. Every time you merge branches there will be conflicts that can be resolved only manually by recompiling all assets. This may be especially annoying if multiple developers work on a project but only a few people change front-end code — suddenly everyone has to keep a local installation of a task runner with the exact same version of Node and NPM.
The second issue is polluting your repository with minimized files — every time you make a change you’ll need to commit both source and minimized file, and Git is not very good at handling them. Most often Git can’t generate a diff on a really long single line, so it commits the complete file instead of just a few changed lines. Your repository will grow in size and get slower pretty fast.
All of this is made even worse by the human factor. There is no built-in way to enforce a specific Node and NPM version used in project, so developers may use mismatching versions that lead to compilation errors and different output. (We’ll explain how to solve this with an NVM below.) Mistakenly committing a compiled file with conflicts is another way to efficiently break a website in production. Another potential issue is someone updating the source file, but forgetting to compile the minimized asset before deploying.
Optimal workflow for handling front-end code
This leads to an optimal workflow for a front-end code:
- Keep source files (unprocessed CSS/Sass/LESS and JS/CoffeeScript) in the repository.
- Exclude dependencies and locally built assets from the repository with .gitignore.
- Compile assets while deploying code changes.
Excluding node_modules directory from your repository with .gitignore is very important. Some modules (like grunt-sass) contain binary libraries, so binary from a module on your Mac won’t work when deployed to a Unix server. package.json already has all the information on dependencies without storing hundreds megabytes of code in a repository.
Setting up DeployBot
This is a surprisingly simple process:
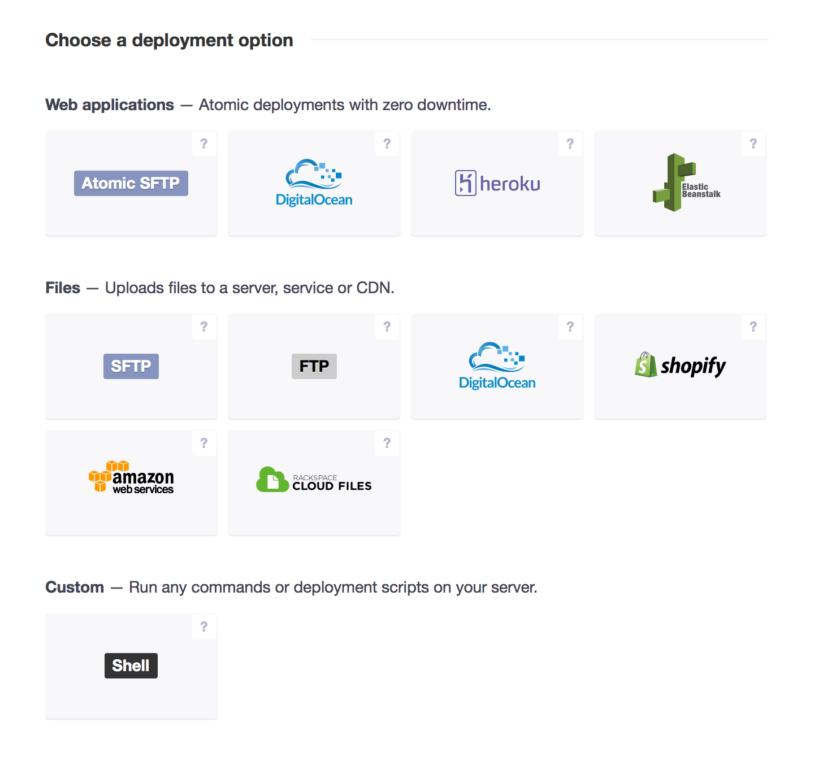
1. Set up an environment and server where your code will be deployed. Consider deploying your assets to Amazon CloudFront or Rackspace Cloud Files server — you can get all the performance benefits of big companies through a CDN with almost no effort on your part.

2. Specify your server’s hostname, path, and login/password.

3. In the server settings open the “Compile, compress, or minimize your code” panel, make sure default container “Ubuntu 14.04 - PHP, NodeJS, Grunt, Gulp, Sass, Go, Java 7/8, RVM, Python (default)” is selected, and write commands for initializing and compiling project:
npm install
grunt
That’s it! If your project uses up to date versions of Node and NPM it should work out of the box, and after spending a few minutes of downloading and installing your dependencies and compiling code everything should be built and deployed to a server. However, there is a good chance that your project may not be compatible with the latest version of Node and NPM, and this is where NVM comes in to help.
Specifying Node version
Node Version Manager or NVM is a simple Bash script to manage multiple active Node.js versions. We highly recommend using it in your project as mismatched Node versions may affect task runner output. NVM is already installed in DeployBot’s default container, so all you need to do is specify which Node version should be used before installing NPM modules and running Grunt:
nvm install 0.10.33
nvm use 0.10.33
Instead of specifying the version number in the command line you can add a .nvmrc file containing the lines above, to your project’s root directory. This is the recommended process, as your whole team will know the right version to use. nvm use and nvm install will respect the version specified in a file when it’s not provided in a command:
nvm install
nvm use
Speeding things up
Everything must work at this point, but new deployments and builds may take a longer time than necessary because all NPM modules get downloaded and re-installed every time. To improve this we’ll separate commands that prepare the container (like installing dependencies) from commands running a build script (like Grunt). Cached build commands are executed only once and the results are cached for you, until changes are made to package.json, gulpfile.js, or Gruntfile.js.
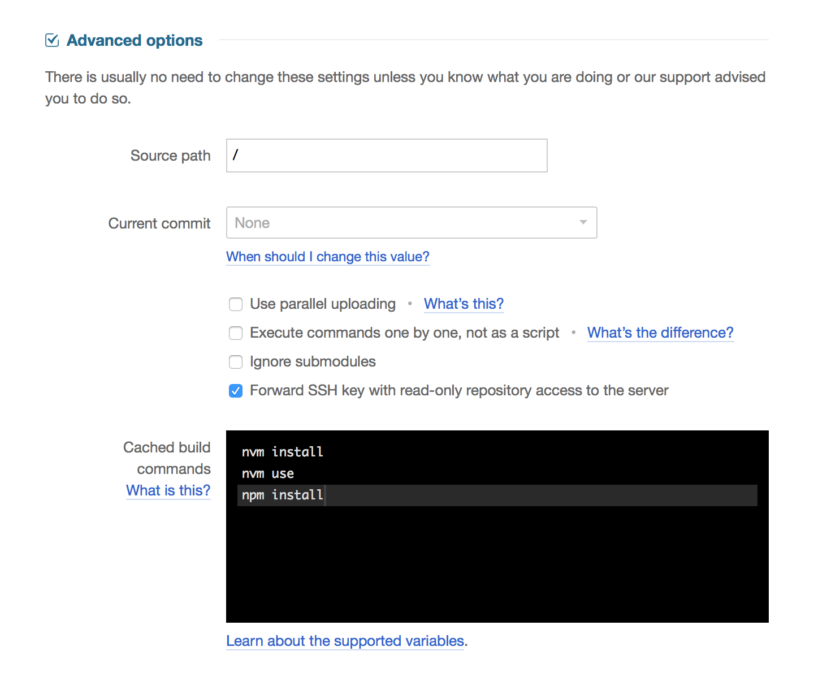
Open the “Advanced options” panel and move commands preparing a container into the “Cached build commands” field:
nvm install
nvm use
npm install
(First 2 are needed only if you use NVM.)

That should leave a single command in your “Compile, compress, or minimize your code” field:
gruntThe next deployment may still take some time to re-download all the packages, but every subsequent one should become much faster.
Hopefully this guide helps establish good practices, and answers some questions about building assets with Grunt or Gulp during deployment process. We’ll be happy to help you along the way or answer any questions — please email us at support@deploybot.com.


