How to Deploy Into Flywheel Using Deploybot
As a developer, one of the most crucial aspects of your job is ensuring that your code makes it from your machine to a live server seamlessly and efficiently, and a reliable hosting platform and a smooth deployment process are essential to achieving this. However, all too often, developers find themselves struggling with inconsistent, time-consuming manual deployments that introduce more problems than they solve.
This is when Flywheel, a reliable hosting platform tailored specifically for WordPress websites and web agencies, comes into the picture. Its innovative approach to hosting goes beyond traditional solutions, offering a suite of powerful features designed to optimize performance, enhance security, and simplify the development process. From blazing-fast load times to robust backup and staging environments, it empowers developers and agencies to focus on what truly matters – delivering exceptional digital experiences.
But what sets Flywheel apart is its seamless integration with DeployBot, a cutting-edge code deployment tool that takes the hassle out of manual code pushes. With DeployBot, developers can bid farewell to the cumbersome and error-prone process of manual deployments, embracing a streamlined and automated workflow that ensures consistent and reliable code deployments every time.
In this comprehensive guide, I will dive deep into the powerful combination of Flywheel and DeployBot, exploring the intricacies of seamless code deployment and unveiling the benefits that await those who embrace this dynamic duo. From streamlining your development workflow to enhancing collaboration within your team, we'll uncover the secrets that will propel your projects to new heights of efficiency and success.
So, get ready to embark on a journey that will transform the way you approach code deployment as I unlock the full potential of Flywheel and DeployBot, paving the way for a future where excellence, productivity, and peace of mind go hand in hand.
I’ll demonstrate all the steps in a friendly way that is easy to understand and apply. So, let’s dig right in to empower your deployment system, but before that, let’s find out the main advantages of code deployment with DeployBot.
Advantages of Deploying Code with DeployBot
Here are the potential benefits that DeployBot includes to deploy code into different servers:
- It can instantly deploy code into multiple servers with a single click.
- DeployBot has options for both manual and automatic deployment.
- This tool sends a notification for each deployment.
- New Relic and BugSnag, like third-party tools, are available for performance and application stability tracking.
- It allows you to track deployment progress in real time.
- With this tool, you can share release notes to keep everyone on the team updated.
- This deployment tool comes with a quick rollback feature for problematic releases.
- It lets you manage permissions for your team members.
Step-By-Step Guide to Deploy Into Flywheel Using Deploybot
This is a four-step guide that will walk you through the easiest way to deploy into Flywheel using DeployBot. From beginners to DeployBot, users who might deploy into another server using DeployBot will get a quick guide from it. So, start following step 1 if you're a beginner. For those who have already configured the repository and environment connection, directly jump to step 4.
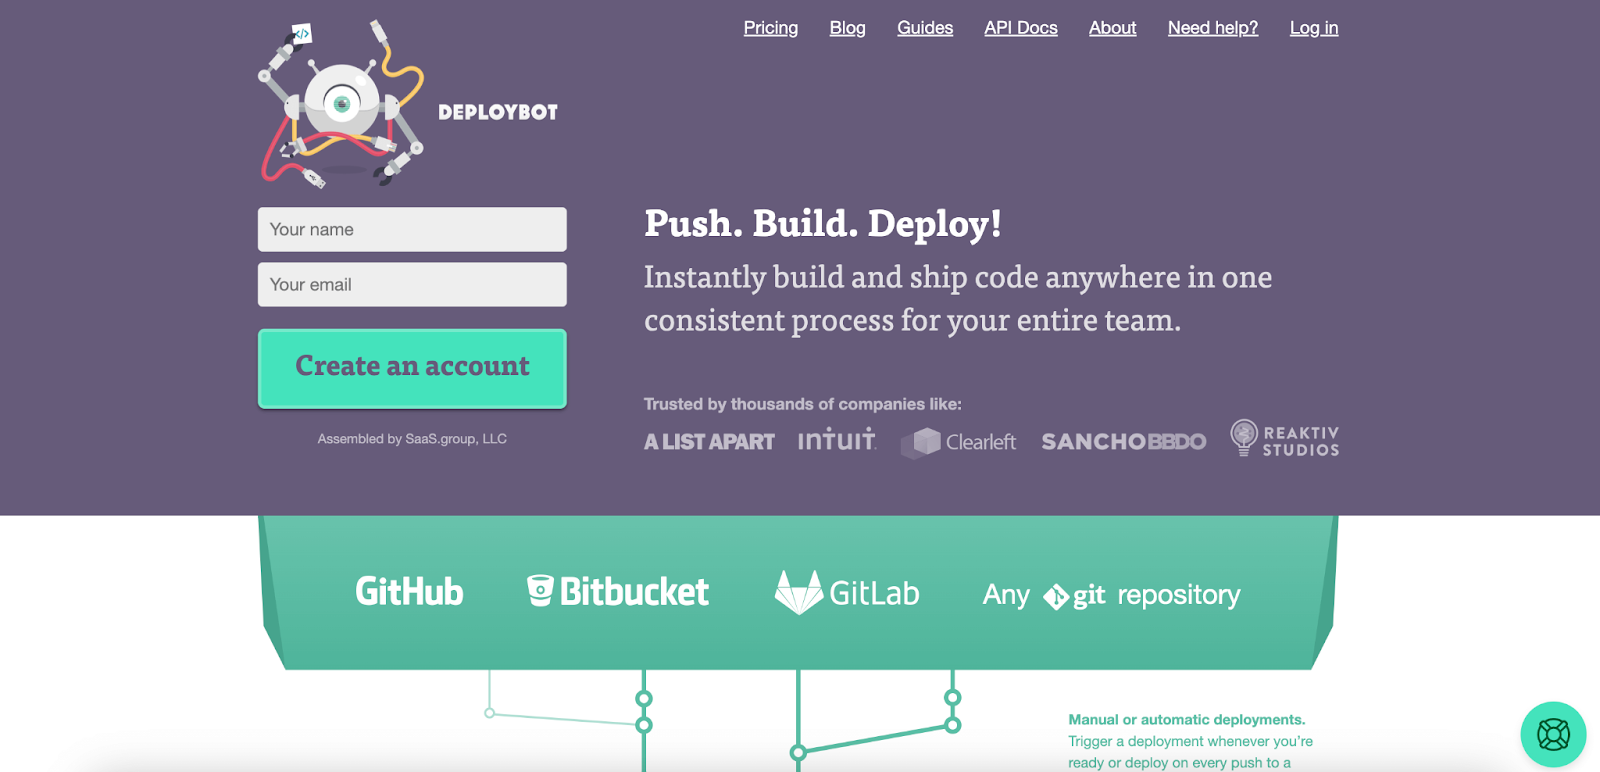
Step 1: Create a DeployBot Account
First, you need to create an account on DeployBot. For that, sign up for DeployBot by entering “Your name” and “Your email”. Then, hit the “Create an account” button. You will get all the notifications through the email you will use here.
Step 2: Configure Repository Connection in DeployBot
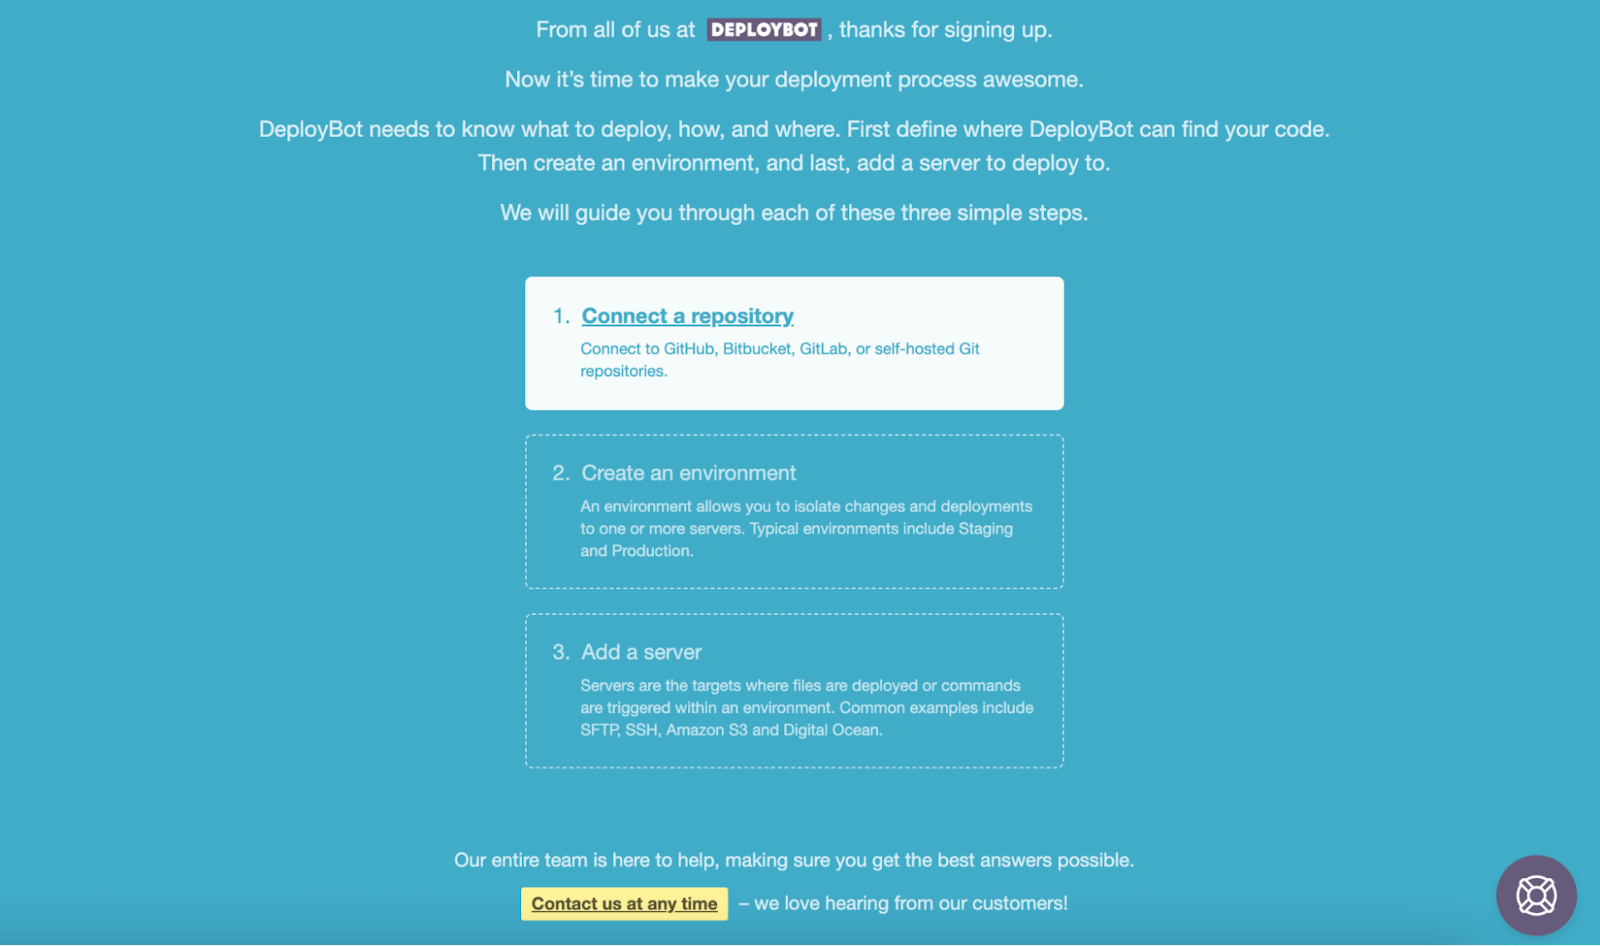
After pressing the button, you will be taken to the configuration tab from where you need to set up a repository, environment, and server. You need to get started with the repository first. To do that, press the “Create a repository” option.
Now, you will see a repository connection page. Here, select any repo that you would like to connect with DeployBot. We are choosing the “GitHub” repository and pressing the “Connect new account” button.

In this step, you need to authorize DeployBot. To do so, press the “Authorize DeployBotOrg” button.

Thus, you will get to see an authorization message mentioning you will be redirected to an authorized application. If you didn’t, then click “this setup page” by yourself and choose repo.

Now, select a repo from the drop and down menu and choose the title and color to indicate this repo. This means that while making any changes to this repo, your server will be updated accordingly. After filling out these fields, hit the “Connect” button.

Step 3: Build an Environment
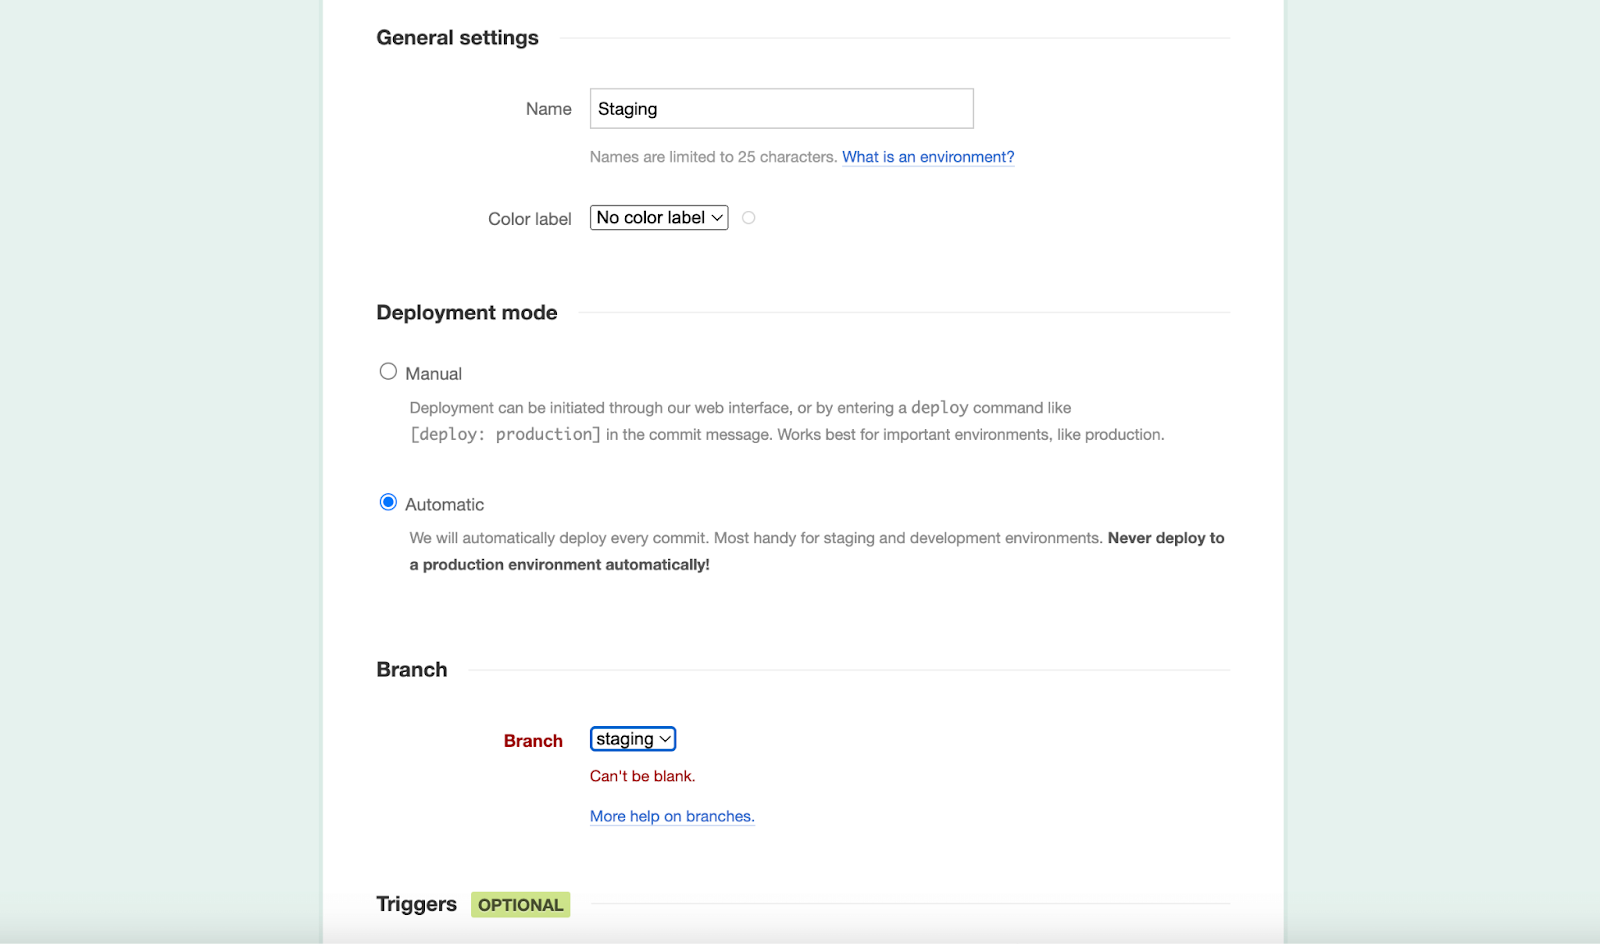
After setting up a repository, press the “Create an environment” option and make all necessary configurations, such as General Settings, Deployment mode, and branch.

First comes general settings. Here, give a name and select the label color. After that, you need to choose Deployment mode from the following two options:
- Manual: This deployment mode works best for a production environment where every deployment should be done manually.
- Automatic: It is appropriate for staging and development environments.
Then, you have to select a branch for your environment. Consider selecting the same branch that you have created in the Git repo. After choosing the branch, scroll down and press the “Save” button. Thus, whenever you make any changes to that branch, it will simultaneously bring change to all the sites.
Step 4: Connect Flywheel with DeployBot
In this step, you need to connect the Flywheel server using SFTP with DeployBot. To do that, navigate to “Server & Settings” and click “Add a server”. Then, choose SFTP to connect Flywheel to it.
First, you need to go through some general settings to connect to a server. Here, you have to enter some data for it. These data will be the same as the credentials of the site created on Flywheel.
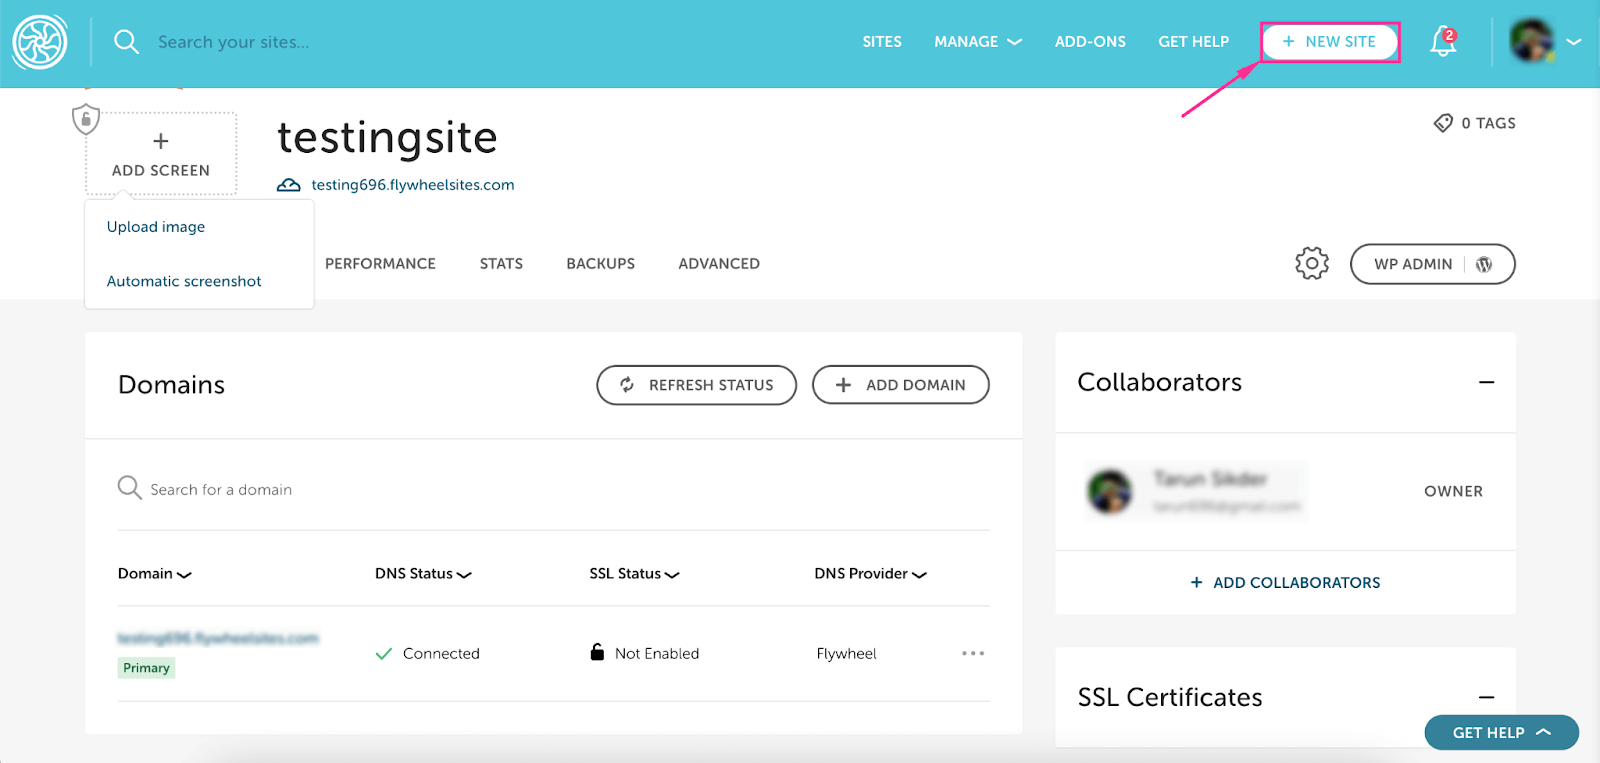
Here, you need to enter the following information for General settings:
- Name: Enter the name of your server.
- Host: Put the host that you will find in this doc.
- Port: Fill it with 22.
- Username: Insert the username of your Flywheel site.
- Password: Enter the password of your Flywheel site.
After adding all data, press the “Connect” button.

A successful connection message will be visible after pressing the button. Then, add the Destination path by hitting the “File browser” button.

Now press the marked area, which will extend different paths.

Here, click the “Use this path” button to add it to the Destination path field.

Now, press the “Write test” button to connect the server with DeployBot.
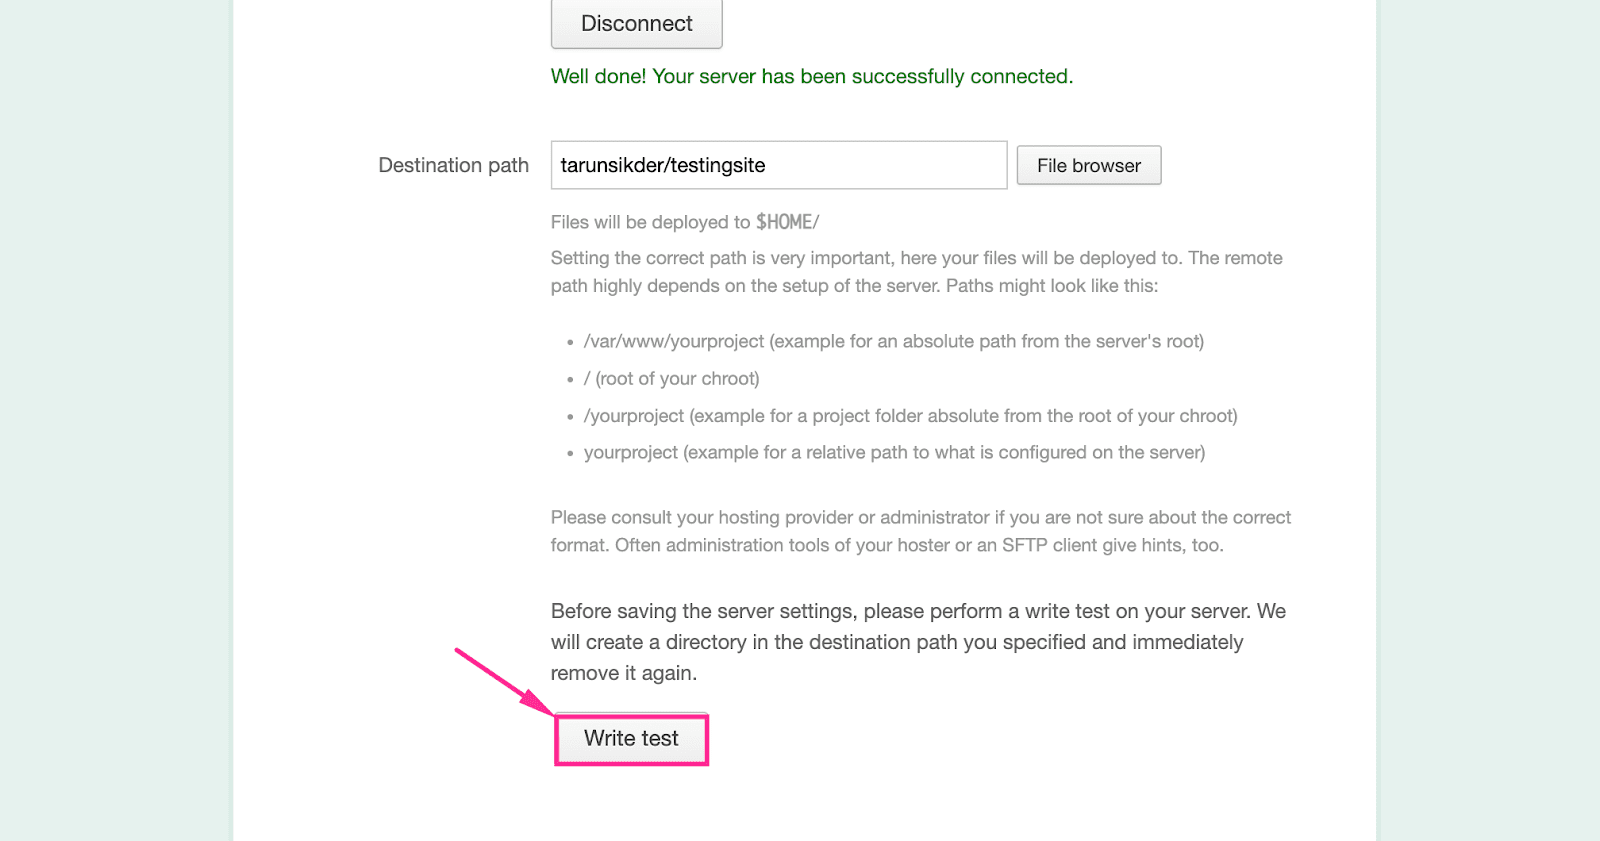
Again, you will receive a message about a successful write test completion message.

Finally, hit the “Save” button to establish a connection and deploy into Flywheel using DeployBot.

Thus, on the “Server & Settings” tab, you will see the Flywheel server connected with DeployBot.

Make Your Deployment Process Smooth and Hassle-free Integrating Flywheel with DeployBot
So, you’re done with connecting the Flywheel server with DeployBot. Now, it’s time to enjoy the ultimate advantages of one-click deployment to multiple sites. One must already know by now that code deployment is a real challenge that developers need to face every single day.
That’s why, without the right deployment tool, the team’s productivity and efficiency will be reduced. But now you know what tool to use and how to resolve deployment with the right server to make your code deployment effortless and smooth.
Not to mention, DeployBot is not just limited to Flywheel; it also simplifies the often-complex process of code deployment across various other hosting providers. Whether you're using other popular hosting servers like EasyWP, Cloudways, Kinsta, or WPEngine, it can streamline your deployment workflow with ease.
This versatility allows you to take advantage of DeployBot's powerful deployment capabilities without being tied to a specific hosting solution. Whether you're working on a personal project or managing a team of developers, it can simplify the deployment process, saving you time and reducing the risk of errors. So, make the best use of it to take full advantage of your code deployment setup, combining it with your favorite hosting servers.
If you need any further help or have questions, feel free to reach out to our support team. They are always happy to provide guidance and clarification, ensuring that you have a smooth experience while using DeployBot with Flywheel or any other hosting provider.


