Easiest Way To Deploy Into Pagely Using DeployBot
Nowadays, in web development, the deployment process often emerges as a challenging hurdle that can slow down progress and introduce stress into what should be an exciting phase of launching or updating digital products.
Manual deployments are notorious for their time-consuming nature and high susceptibility to human error, turning what could be a straightforward task into a minefield of potential issues. Every developer knows the dread of late-night deployments that drag on due to unforeseen errors or inconsistencies between development environments.
But what if I told you there's a better way to get it done? A way where deployments are automated, streamlined, and stress-free? Sounds pretty great, doesn't it?
This is when it enters and incorporates with the dream team – the reliable hosting power of Pagely combined with the magic of DeployBot's deployment automation. This dynamic duo takes the grunt work out of deployments, freeing you to focus on what you do best: building awesome things.
Deploying into Pagely using DeployBot not only makes developers work easier but significantly faster. This powerhouse combination ensures that your code transitions smoothly from repository to production with minimal intervention, reducing downtime and virtually eliminating the chances of those dreaded deployment-day errors.
Let’s dive in to find out how this duo can revolutionize your deployment strategy, ensuring reliability, speed, and peace of mind in your development cycle.
In this guide, I’ll provide a complete yet straightforward guide for an automated deployment system for Pagely, an advanced managed hosting provider.
Perks of Using DeployBot as a Code Deployment Solution
Here are some core reasons that drive you towards using DeployBot as a code deployment tool:
- You can deploy code from different branches to one or multiple servers at once.
- Both manual and automatic deployment are possible with this code deployment tool.
- It ensures zero downtime during atomic deployment.
- It is a secured tool as it immediately rolls back from problematic releases.
- You can keep your team updated by sharing release notes.
- This tool lets you create release packages using Docker Container.
- You can monitor code deployment in real-time.
- Its server configuration is beginner-friendly.
- Users don't have to access servers for seamless deployment.
- Users' roles and permissions are super handy to manage while using it.
- Third-party integrations, such as New Relic, Bugsnag, Slack, etc, are available for effective communication, performance, and application stability tracking.
Deploying Into Pagely Using DeployBot in 4 Simple Steps
Since you learned about the perks of using DeployBot as a deployment solution, it’s time to dive into the complete guide. Follow the complete guide from step 1 if you're a beginner. For those who are looking for a guide to server integration, check out step 4.
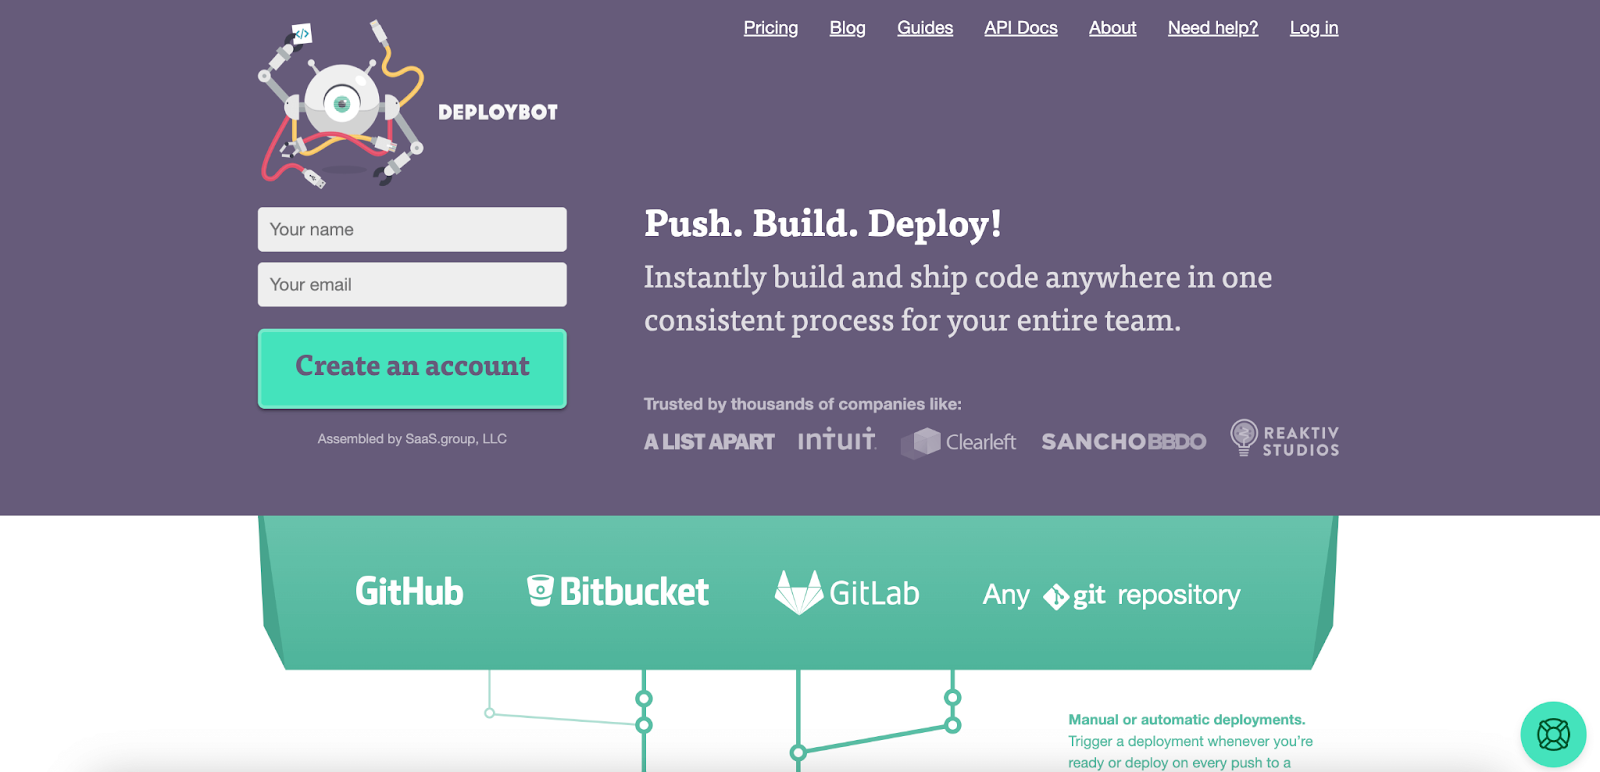
Step 1: Register into DeployBot
To deploy into Pagely using DeployBot, you have to create an account signing up with your name and email. After filling out the fields, press the “Create an account” button.
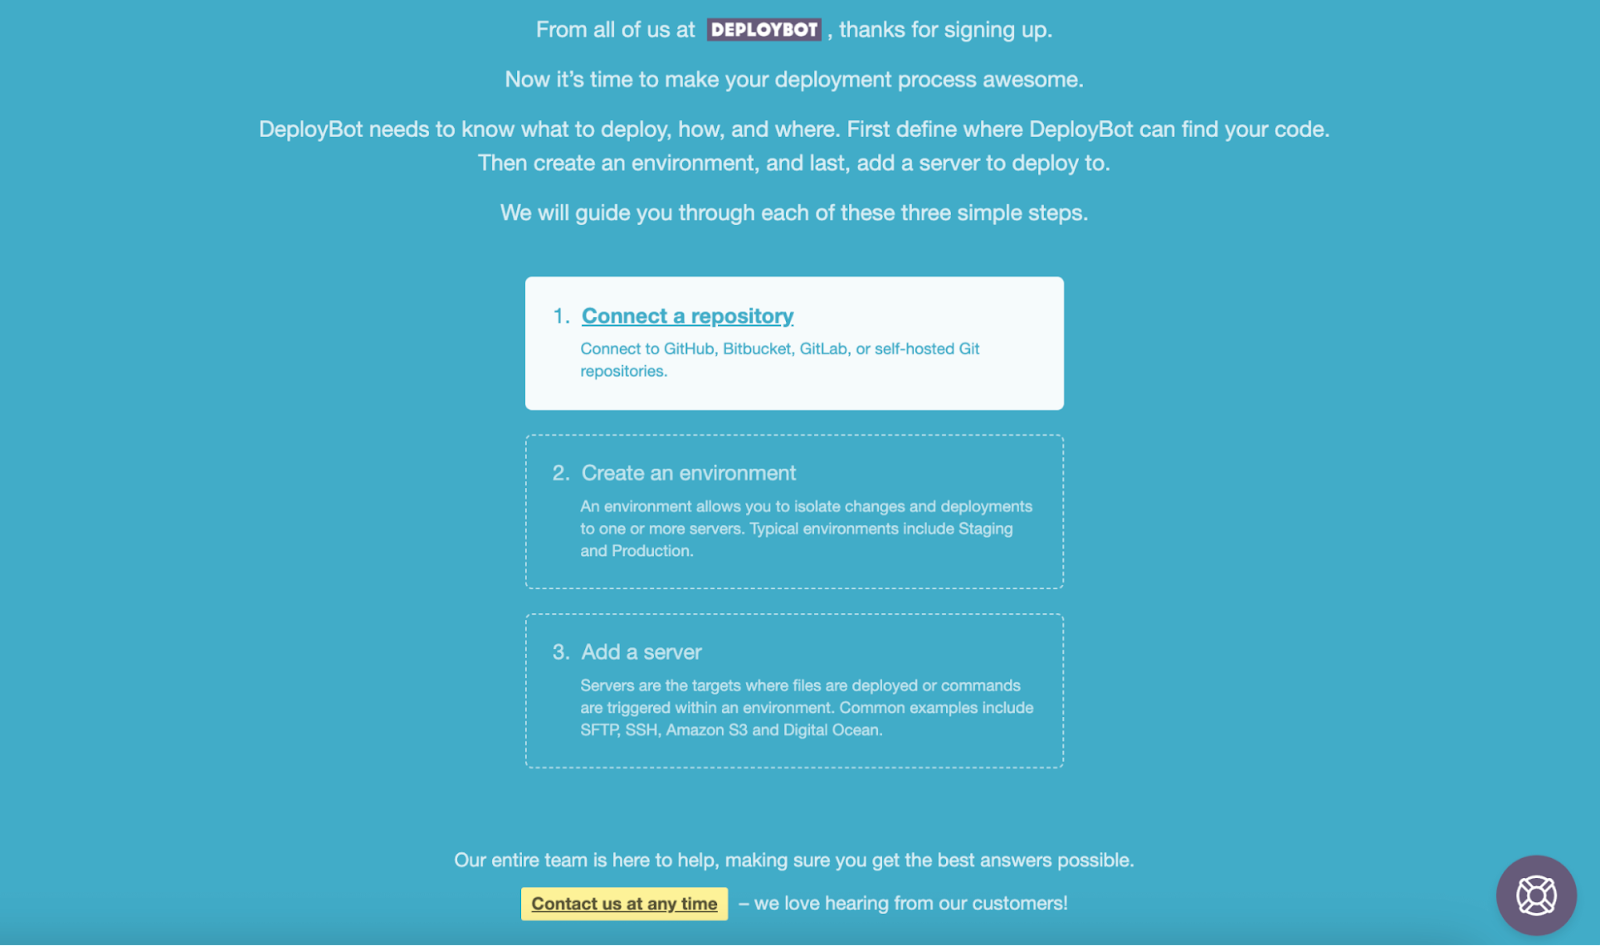
Step 2: Configure repository connection with DeployBot
After signing up for DeployBot, you have to set up a repository. Hit the first option, “Connect a repository” button, to add a repo.
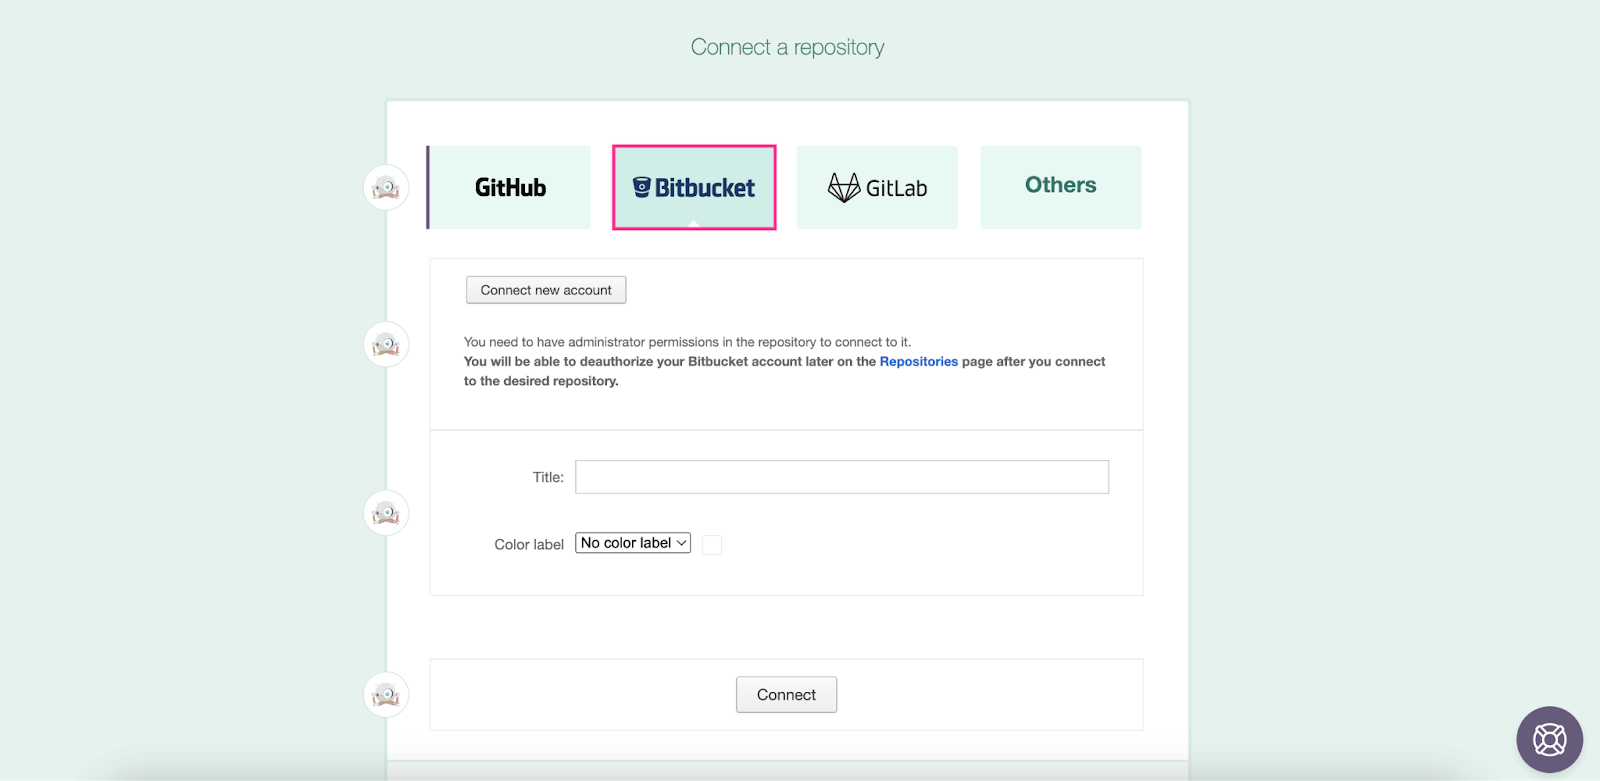
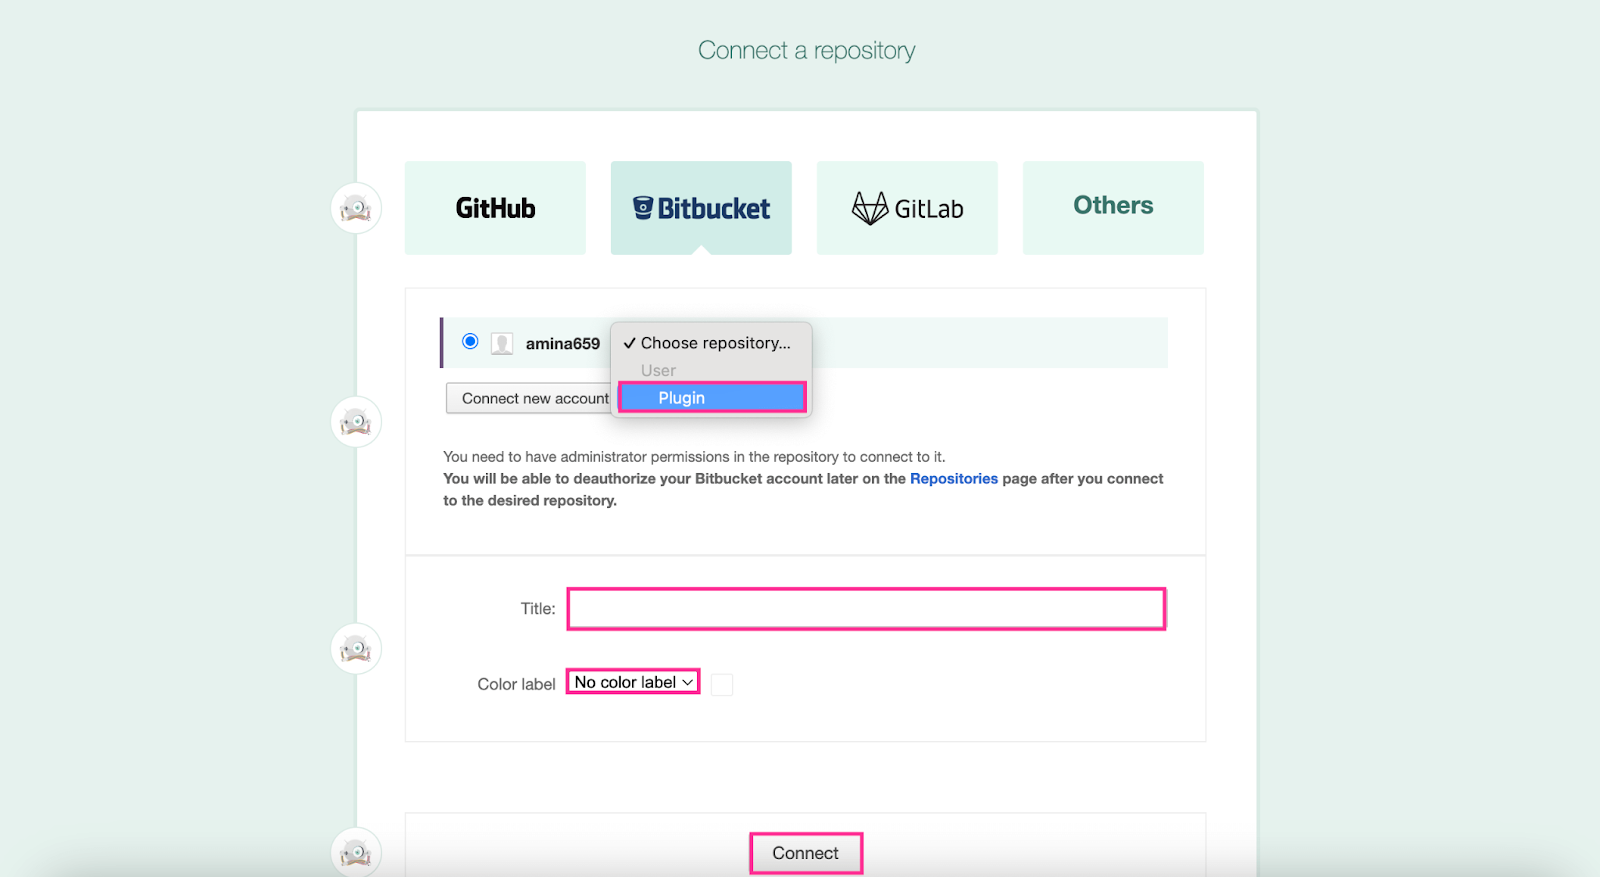
Now, select a repo from GitHub, Bitbucket, GitLab, or others. For example, here, we're opting for Bitbucket and pressing the “Connect an account” button.
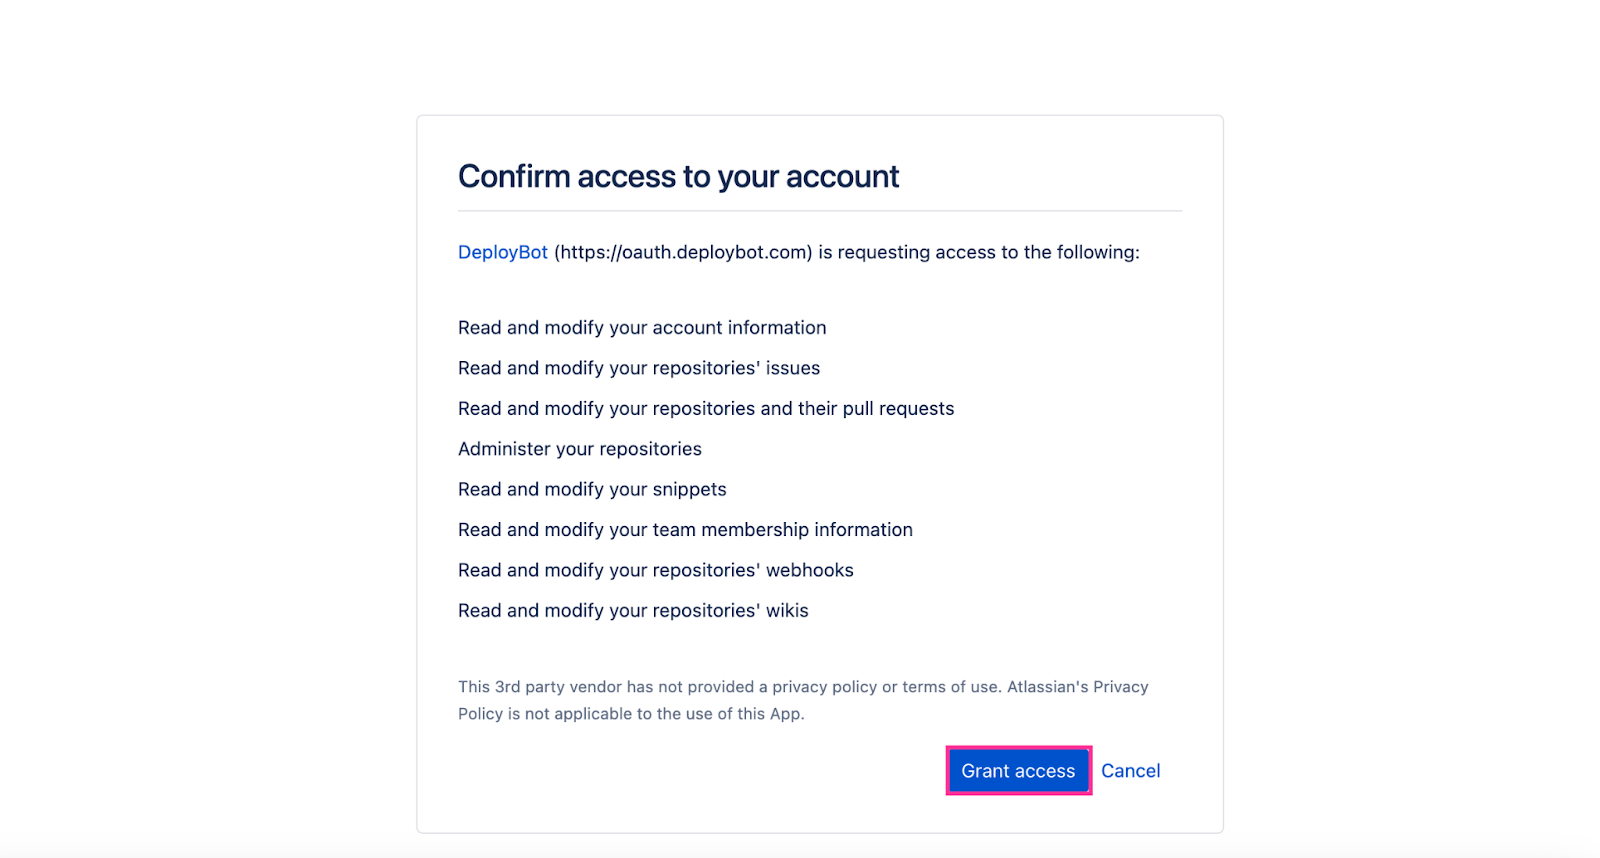
This step will send a message stating that you need to grant access to DeployBot to connect with Bitbucket by hitting the “Grant access” button.
After that, you need to select a repo and enter the Title and Color label for that repo. Then, press the “Connect” button. Thus, your repository will be connected with DeployBot.
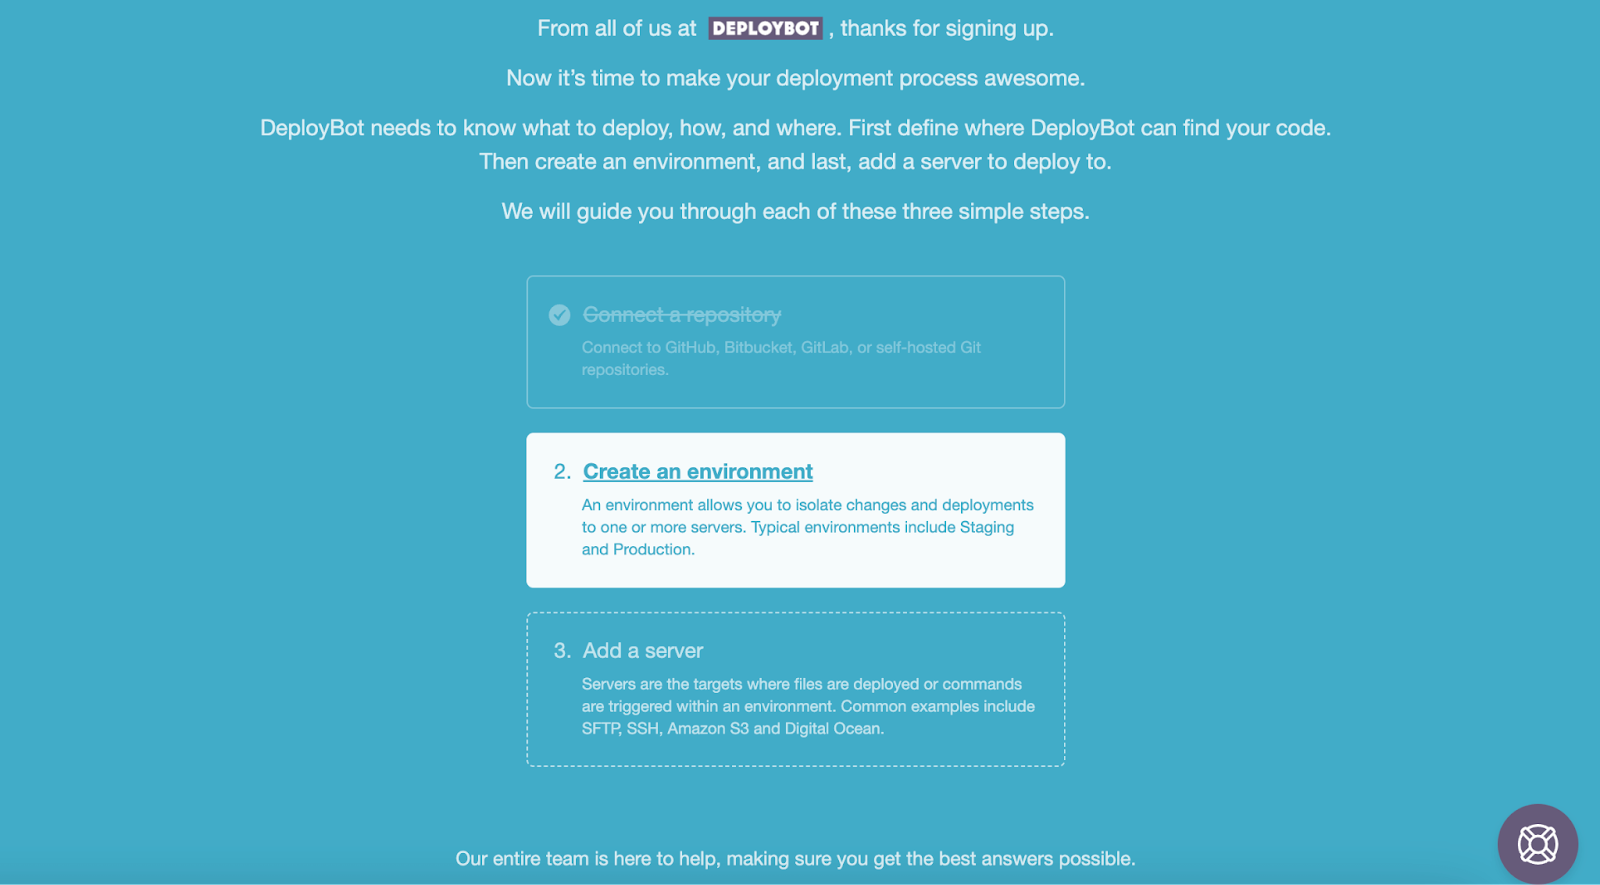
Step 3: Set up an Environment
In this step, you need to build an environment for deployment. Press the “Create an environment” button to access the environment configuration page.
Now, you will be redirected to a page where you need to fill out different fields to set up the Deployment environment configuration successfully.
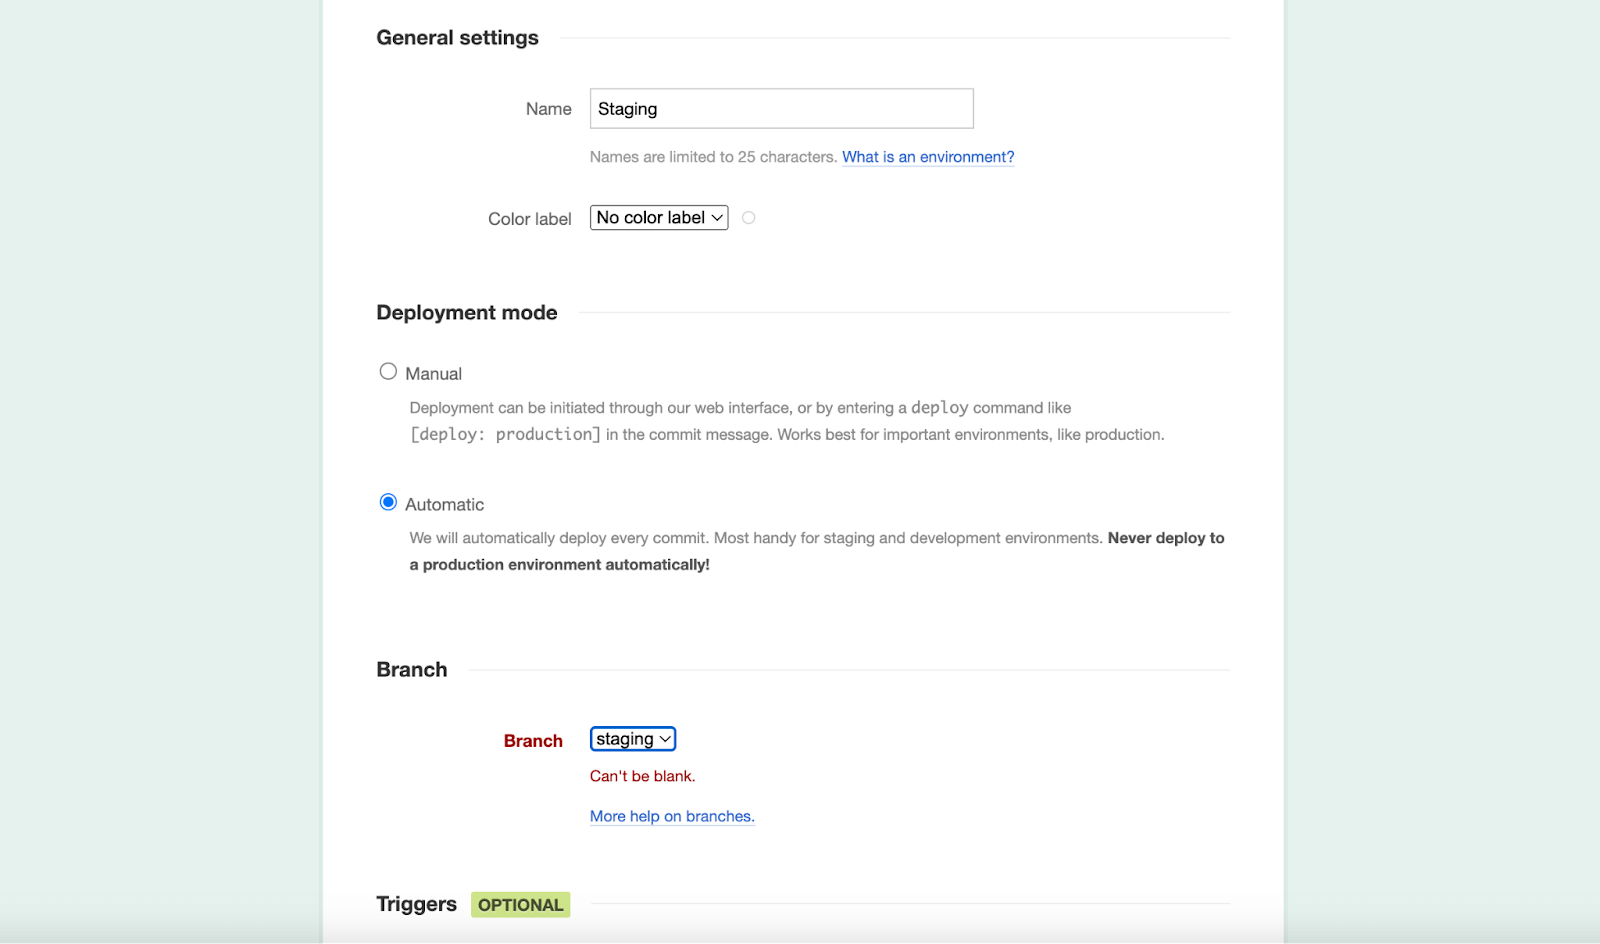
For example, enter the Name and Color label for general settings. And for deployment mode, you will get two options such as:
- Manual: It indicates a deployment system that requires manual command to initiate deployment, which is best for the production environment.
- Automatic: DeployBot also supports automatic deployment for Pagely or other servers. It's handy for staging or development environments.
For staging, select Automatic Deployment System. Then, choose the same branch you have created in Bitbucket for deployment. After selecting that branch, press the “Save” button.
Step 4: Connect Pagely with DeployBot via SFTP
After setting up the environment, you must connect Pagely with DeployBot using SFTP credentials. Navigate to “Server & Settings” to build a connection between Pagely and DeployBot. This will redirect you to the tab assigned to the server configuration. Select SFTP from here.
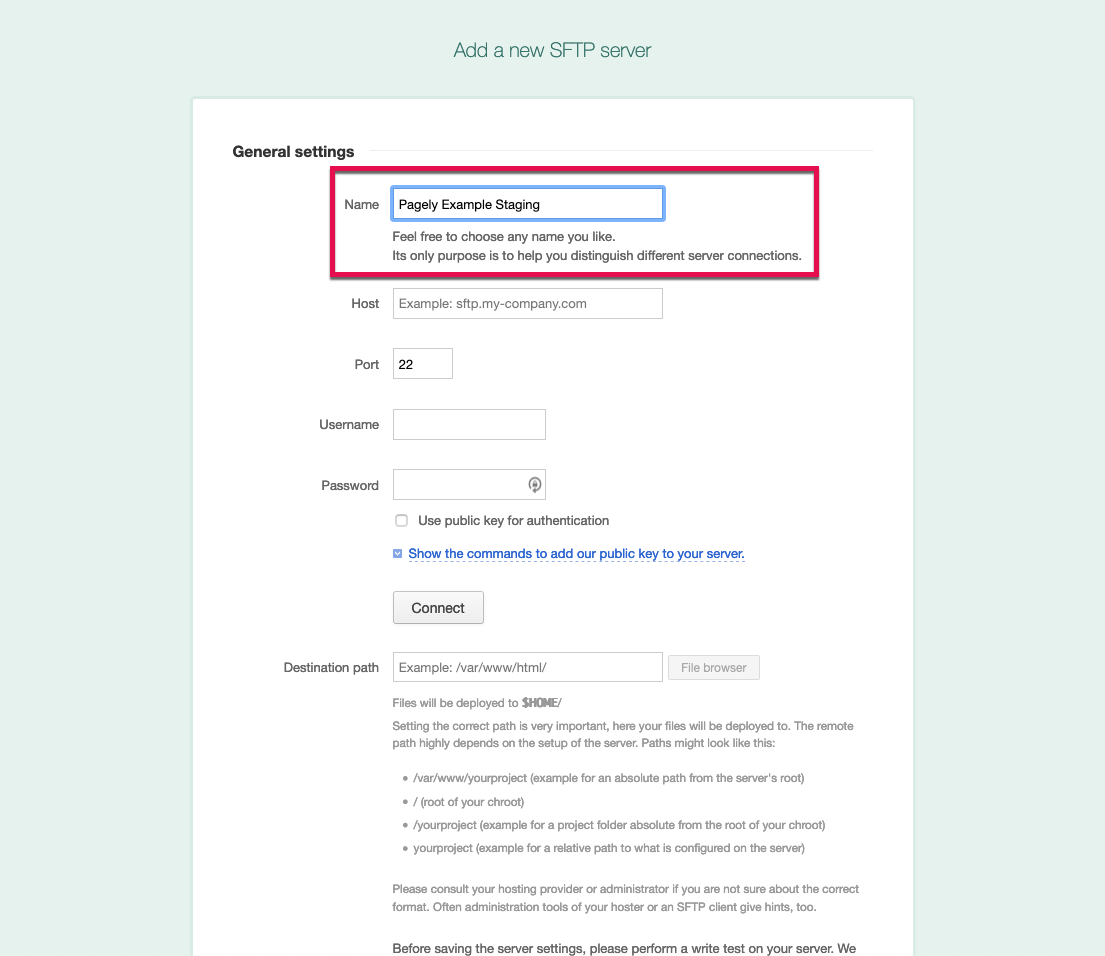
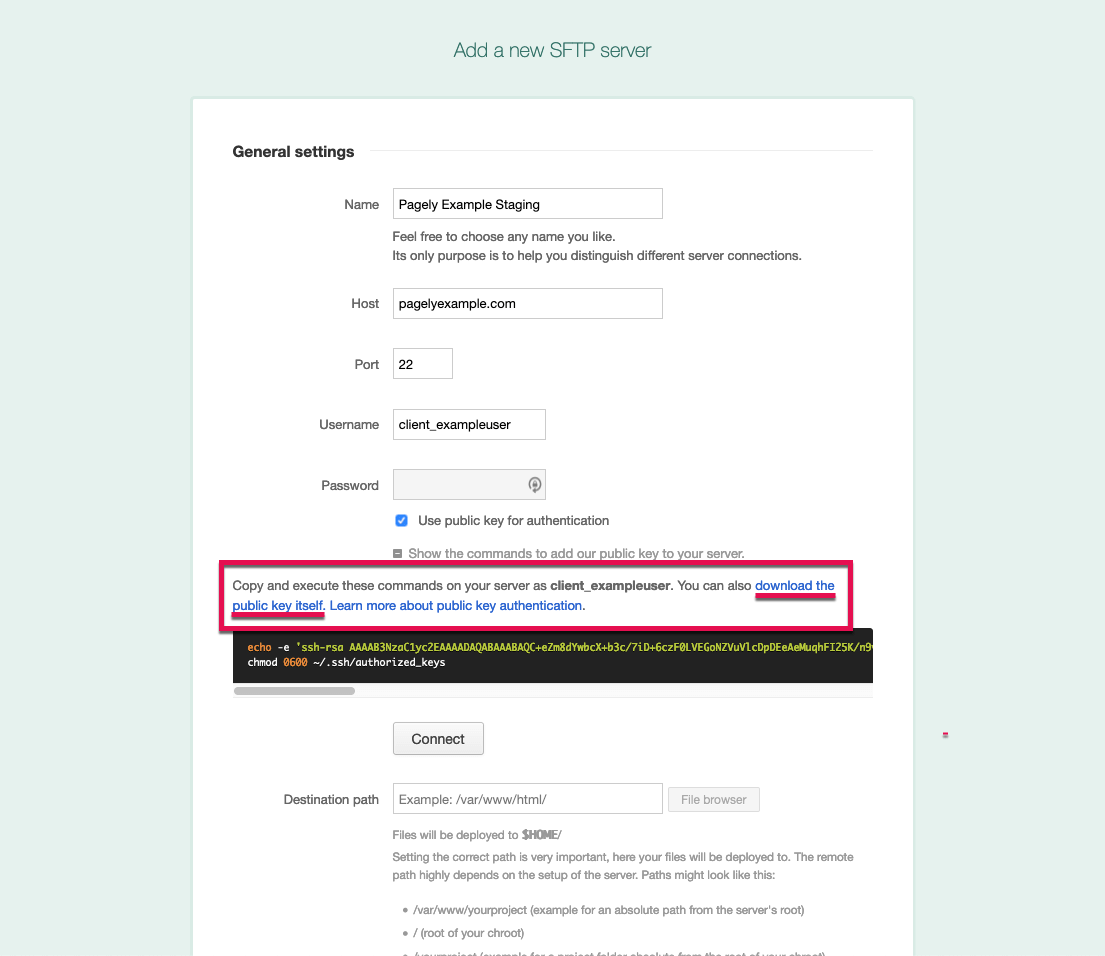
After selecting SFTP, you will be redirected to the server settings where you must fill the name field with the Server name.
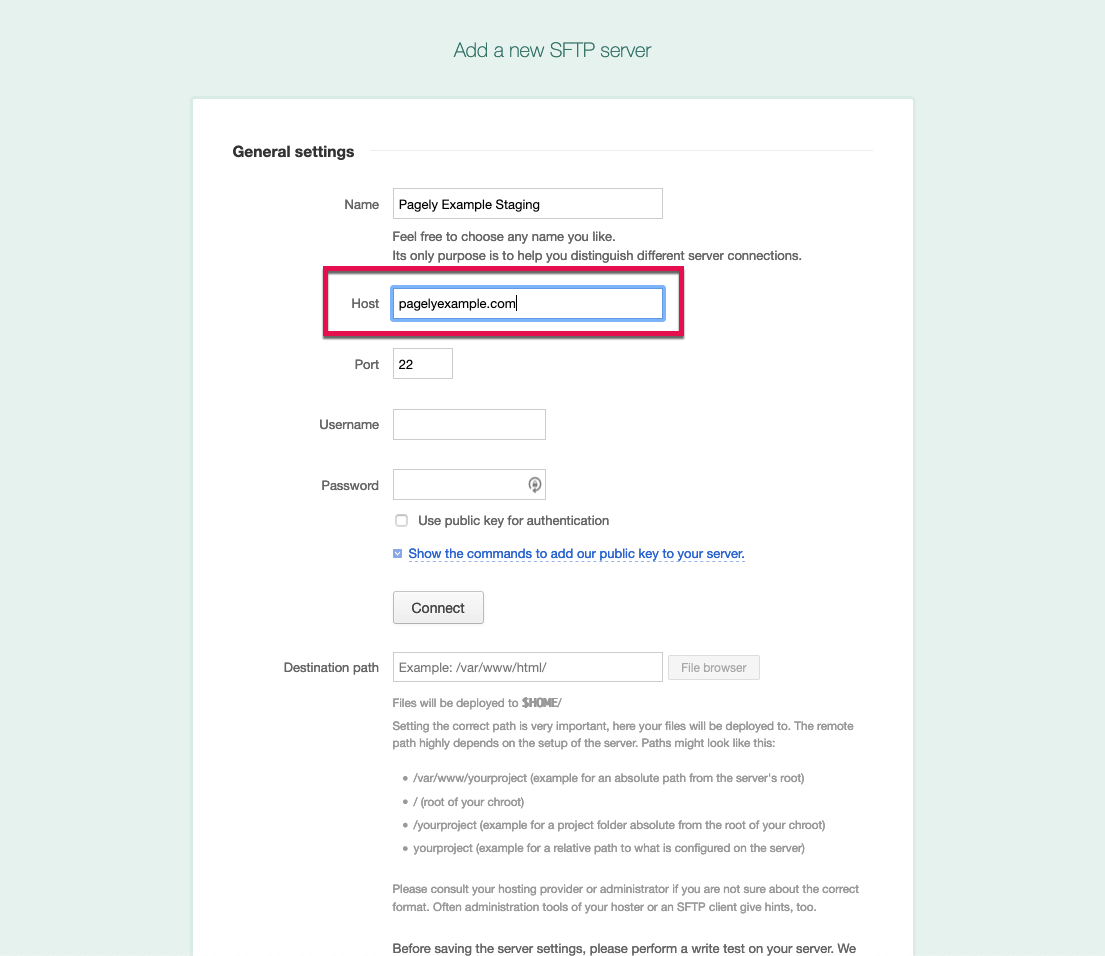
Enter Pagely VPS's hostname or domain in the host field and enter 22 for the Port.
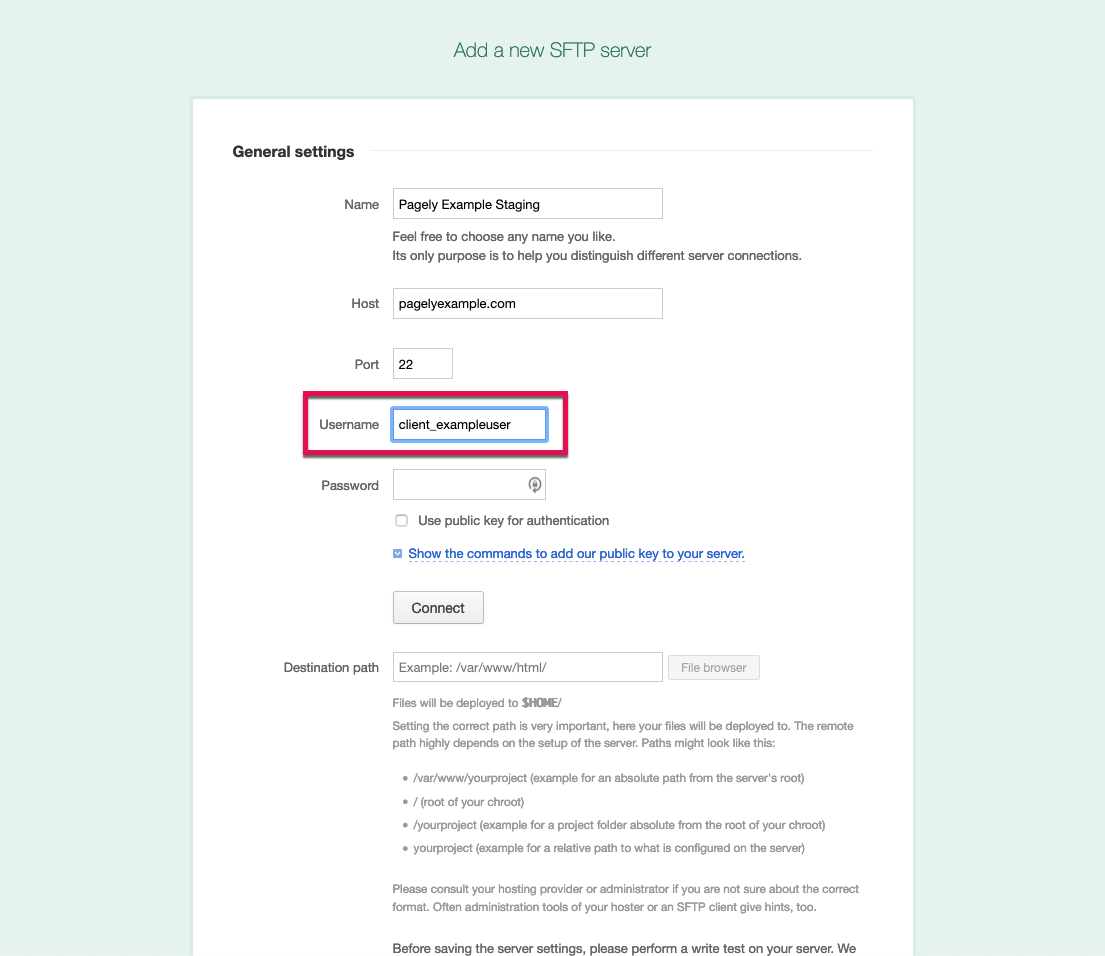
Then, enter the SFTP/SSH username in the Username field. Also, keep the Password field blank since we're using the public key for authentication.
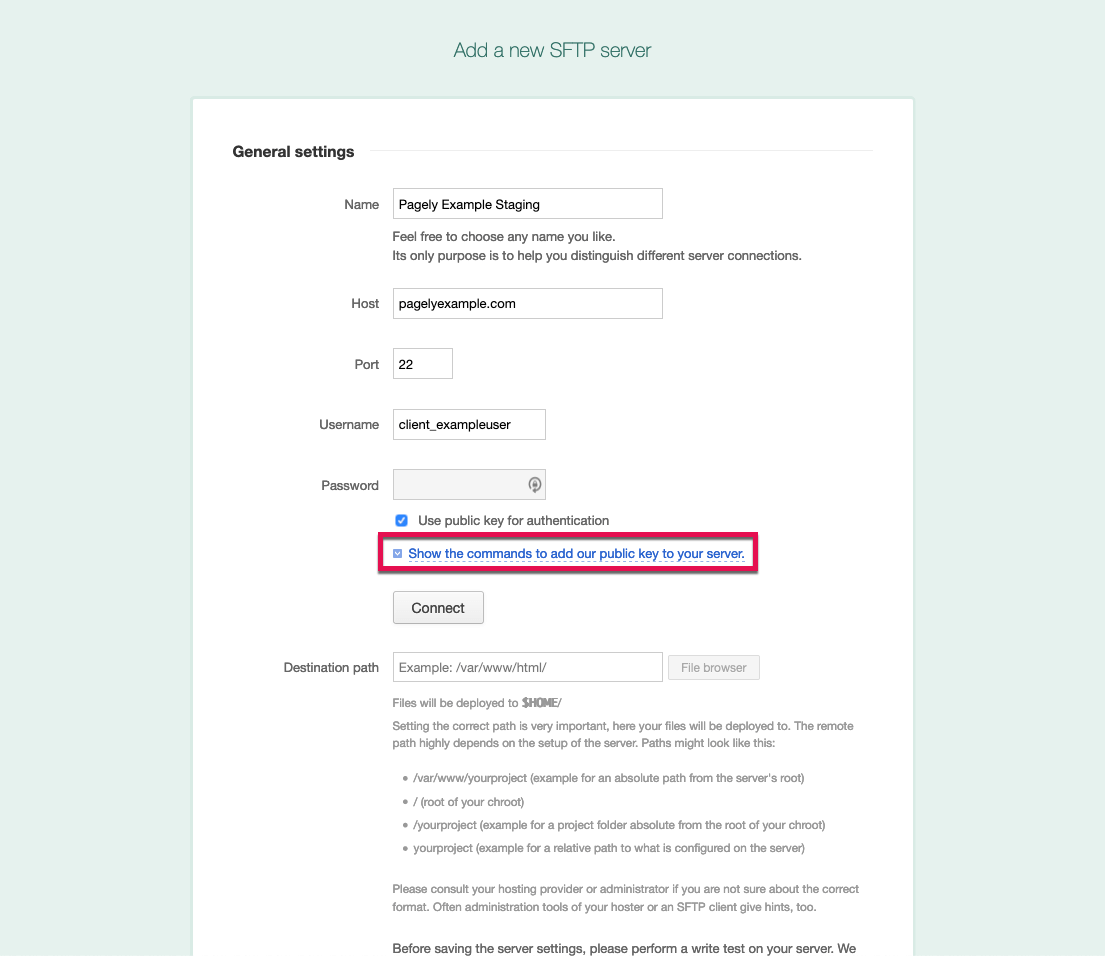
Next, right-click the “Use public key for authentication” option.

Now, hit the “Show the commands to add our public key to your server” option to view and download the public key.
Now, press the “download the public key itself” to download it. After downloading it, add it to the SSH tab of Pagely.
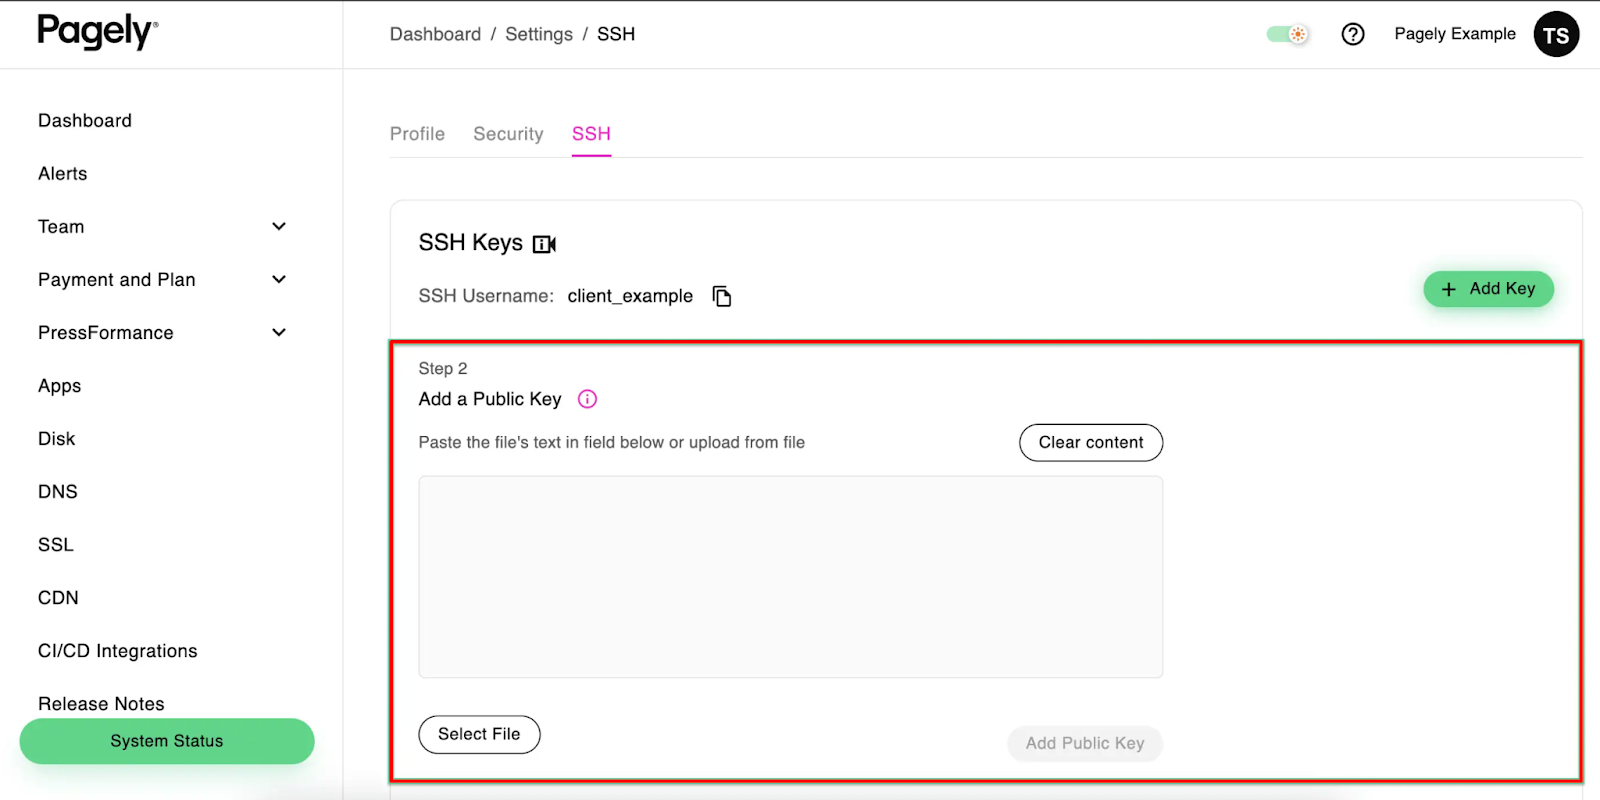
Now, enter the SSH key in the “Add a Public Key” field and press the “Add Public Key” button to get connected with Pagely.

Check out the SSH key to Atomic documentation for a detailed guide to add the downloaded SSH key in Pagely.
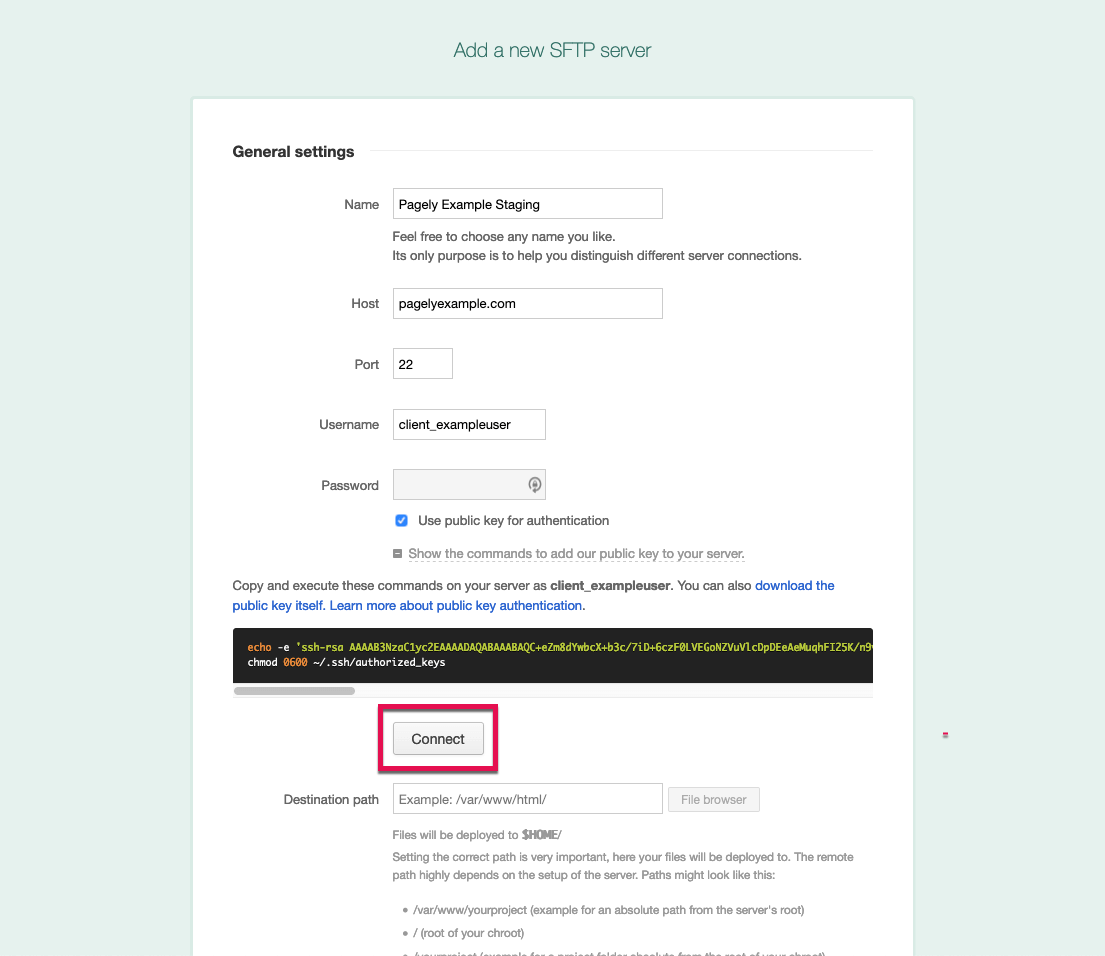
After adding the SSH key within Atomic, press the “Connect” button to complete the General settings configuration.
Now, set the ‘Destination path’ to which you want your repository's file to be deployed. Click the “File browser” button to get the destination path.

After entering the destination path, press the “Write test” to connect the server.
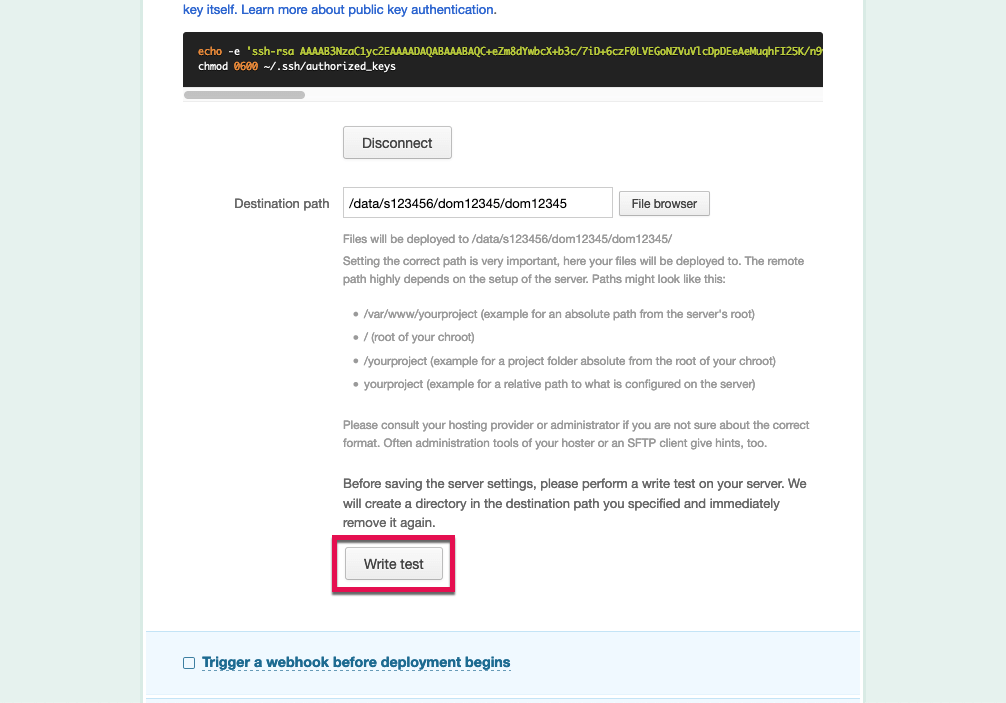
Finally, press the “Save” button to wrap up Pagely, the best enterprise WordPress hosting provider’s configuration with DeployBot.
Make the Best Use of Your Favorite Hosting Server in Code Deployment Integrating With DeployBot
Integrating DeployBot with Pagely hosting makes deploying code a breeze. No more hassles or complexities – just a straightforward process that streamlines your workflow. And it's not just Pagely; DeployBot simplifies deployments across various hosting providers like EasyWP, Cloudways, WPEngine, WordPress.com, Flywheel and Kinsta.
So, let’s quickly recap, what makes DeployBot so powerful? Features include collaborative coding support, the ability to simultaneously deploy multiple servers, and automatic rollbacks. It's a comprehensive solution that caters to the needs of developers and teams alike.
By following the steps outlined, you can now effortlessly deploy your code to the Pagely hosting environment using DeployBot. It's that simple!
However, don't forget the importance of regular monitoring. While DeployBot simplifies the process, keeping an eye on deployments can help you catch and resolve any potential issues promptly. A little vigilance goes a long way in ensuring error-free deployments every time.
With this integration setup, you can now take your code deployment experience with Pagely to new heights by leveraging DeployBot's capabilities. And with proper observation, you can rest assured that your deployments will be smooth and successful.
Combining Pagely's reliable hosting and DeployBot's robust deployment automation creates an efficient, streamlined workflow. Now, you can thankfully say goodbye to major hurdles or complexities when managing and deploying your code changes.
If you encounter any problems during the integration or deployment process, don't worry – DeployBot's logs are here to help. These logs can provide valuable insights into the root cause of the issue, making it easier for you to troubleshoot and resolve the problem efficiently.
Also, remember our support professionals are always ready to lend a helping hand. Whether you need guidance on the integration process, assistance with configuration settings, or further explanation on any aspect of DeployBot, our dedicated support team is just a click away. We're here to ensure your success every step of the way.


