
ChatOps: DeployBot + Slack
Have you ever thought of DeployBot as just another co-worker of yours? You know, that spherical robot guy who helps you continuously deliver all these awesome updates straight to your customers. If you haven’t, it’s likely because you’re not using ChatOps capabilities that we’ve built into it.
What the heck is ChatOps?
ChatOps is a recent term allegedly coined by people behind GitHub. In a nutshell, it means using your team’s chat to control your technical infrastructure. But what it really is about is taking the stress out of interaction between human and machine, and replacing the horror of manual command line operations with relaxed confidence of informal conversation.
Get deployment notifications to your Slack channel

If you’re convinced that you can no longer live without DeployBot’s mono eye occasionally appearing in your Slack channel, start with enabling Slack notifications.
Luckily, it’s quite simple. Go to the Integrations section of the top-level settings menu, and click “Connect” near Slack’s icon.

You’ll need to provide DeployBot with limited access to your team account on Slack. Simply follow the instructions on that page and click "Authorize" if you’re comfortable with the requested permissions. Once you’re done, you’ll be directed back to Integrations page where you should see your newly connected team.

Now, let’s enable Slack notifications for your favorite environments. For each environment, go to environment settings, and under the Triggers section, check “Notify Slack” boxes and pick channel names where the notifications should be directed. That’s it, now you’ll never miss a deployment again!


If you've read this far, you are probably one of our customers. If not, Version Control is obviously an issue for you. However, if you need to update more than one server, automation makes sense. This is exactly what we offer with DeployBot. DeployBot integrates perfectly with the most popular tech. You can find an ever growing collection of beginners’ guides on our website.
Laravel, Digital Ocean, Ruby on Rails, Docker, Craft CMS, Ghost CMS, Google Web Starter Kit, Grunt or Gulp, Slack, Python, Heroku and many more.
Learn how to get started with DeployBot here.
Trigger deployments from Slack

It wouldn’t be fair if you could only listen to DeployBot’s doings, unable to say anything in return. After all, you’re the human here, and speaking is your prerogative. Don’t worry, we have your back. It’s time to create a slash command.
You can think of slash commands as regular messages that start with a slash (/) character. When sent, if the Slack server recognizes the command, it executes it according to default rules. Some connected 3rd party apps may add new slash commands to your Slack, and your own team can define custom slash commands too. And now, a little known fact: DeployBot’s deploy webhooks support Slack’s formatting and can be used as target URLs for slash commands.
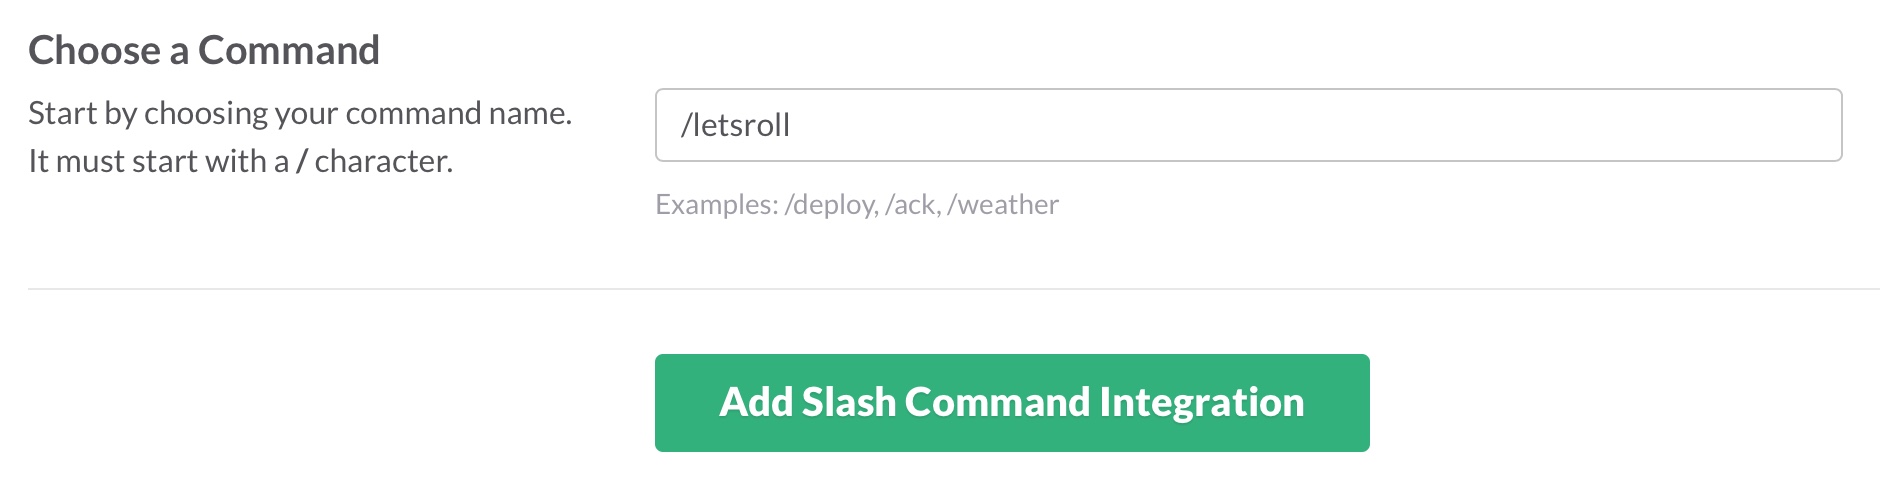
Start with picking a name for your future slash command. You can use a descriptive token like /deploybot-production, or go wild with /letsroll, /dragonsahead, or whatever you like. Just remember to let your teammates know what this is about. Once you’re satisfied with the command name, click “Add Slash Command Integration”.
To configure the command you’ll need a webhook URL for triggering deployments. In DeployBot, go to “Webhooks & Badges” section of your repository settings, and copy the one associated with your environment of choice.

Now let’s go over the configuration fields of a slash command integration in Slack:
1. Command. The name you picked when you created the integration. Feel free to modify it if you changed your mind.

2. URL. The deploy webhook URL you copied from DeployBot, paste it here.

3. Method. HTTP request method, should be POST.

4. Token. It has a pre-set value by default — leave it be or delete it. DeployBot’s webhook URL already includes a secret token called secret.

5. Customize Name. We suggest that you set it to "DeployBot", but you can do what you like.

6. Customize Icon. If you picked “DeployBot” on the previous step, you might as well use our avatar here.
7. Show this command in the autocomplete list. Check this, unless you want this slash command to stay a secret.
8. Autocomplete help text. Especially useful if you went with a “creative” name for your slash command. It’s a good place to explain what the command actually does, i.e. “Deploy Project Alpha to production”.

9. Descriptive Label. A label to distinguish this command amongst your other integrations in Slack. For example, “DeployBot production”.

Once you’ve completed the configuration, click “Save Integration”. You should be able to see this command in autocomplete dropdown in Slack (unless you chose the option to exclude it from there). From now on, every time your environment is behind, using this slash command will trigger a deployment of the latest available commit in the branch associated with the environment.
Recap
We think that a little bit of ChatOps can benefit every team. And whether you only want to receive notifications, or actually trigger deployments from Slack, DeployBot has you covered. It makes the deployment process seamless and works with almost every tech you wish - like Laravel, Digital Ocean, Ruby on Rails, Docker, Craft CMS, Ghost CMS, Google Web Starter Kit, Grunt or Gulp, Slack, Python or Heroku for which we have an ever growing collection of beginners’ guides.


